
Unleash Speed in Your YouTube Videography with Rapid Techniques
Unleash Speed in Your YouTube Videography with Rapid Techniques
How to Render and Upload YouTube Videos Faster?

Richard Bennett
Oct 26, 2023• Proven solutions
You’ve shot a video you’re proud of and you can’t wait to post it! But, slow down, you have to edit all your clips together first. And then you have to export your video from the editing program, which can take a while. Then you have to wait for it to upload to YouTube, and once it’s up you have to write your description, add cards, and do a handful of other things.
The period between finishing a video and actually posting it for your subscribers to see can be long and tiresome. A lot of videos have probably died in these stages because their creators ran out of energy and patience.
Don’t let this happen to your videos! Here are 4 ways you can save time and avoid headaches during post-production:
3. Use default descriptions and tags
4. TubeBuddy’s bulk features and tagging tools
1. Create mini-projects
When you have alarge editing project with lots of different titles, animations, clip sequences, and PIP tracks it can get hard to keep track of everything. That’s especially true if you need to go back and make changes. A change to one part of your video could affect other parts of it.
Also, the more complex your video is the longer it will take to render/export.
There is a way you can keep your project more organized, save time making minor adjustments, and speed up rendering: create sub-projects of different segments of your video and import them into your main project as their own clips.
This helps you in 3 ways:
1. If there are a lot of effects it’ll be faster to render a shorter video.
2. If you import your sequence as its own clip you won’t have to worry about adjusting little parts of it whenever you change earlier sections of your video.
3. If you do want to make adjustments to your sequence you can open up your mini-project and change it without affecting anything in your main project.
2. Optimize your upload speed
At home, your videos will upload fastest if all of your internet resources are devoted to the upload. That means you should not have any other windows open on your computer while you are uploading. You should also make sure there aren’t other devices competing for wifi like smart tvs, cell phones, or really fancy coffee makers.
If you have neighbors on the same wifi signal as you and they are online at the same time, this will slow you down too.
Because there is so much that can interfere with wifi, you might want to consider a wired Ethernet cable. Ethernet connections are faster in general, and you won’t have any problems with other devices competing for resources like you get with wifi.
If you’re doing everything you can to optimize your upload speed at home and still find that it takes an unreasonable amount of time to upload videos to YouTube, go somewhere with a better connection. Save your video to a USB drive and take it to a library or college to upload. Connections in these kinds of places tend to be very strong.
3. Use default descriptions and tags
In your Creator Studio, go to Channel > Upload defaults. Here you can write in titles, descriptions, and tags which will automatically be applied to every video you upload.

Note: in the latest YouTube Studio, the upload interface is changed but the main process is similar.


You probably have tags you use for almost every video you post. For example, if your channel is about vegan cooking then every one of your videos is probably tagged ‘vegan’, ‘food’, and ‘cooking’. If you type those tags in here then you don’t have to keep adding them to every new video, and you can still add or remove tags from individual uploads so you aren’t stuck using the exact same set of tags every time.
Similarly, you probably have some default text that goes in the description of every one of your videos (i.e. a link to your personal website or a brief introduction of yourself). If you type in a default description then that text will appear automatically in every new video description and you can just add to it when you need to for individual videos.
Using defaults might only save you a couple of minutes per video, but those minutes add up.
4. TubeBuddy’s bulk features and tagging tools
TubeBuddy is a channel management tool for YouTube. Most of its features are more geared towards very large channels or companies with a YouTube presence, but there are also features that can help small or mid-sized YouTubers save time and stay organized.
Some of these tools include templates for things like cards and end screens and bulk processing tools for when you want to change a lot of things at once. For example, if you wanted to update the links in every card in every one of your videos at once then TubeBuddy could help with that.
Some of TubeBuddy’s best features for growing channels are the tagging features. TubeBuddy will help you discover tags, suggest new tags, and even copy whole lists of tags from rival videos.
There are different levels of pricing for TubeBuddy (including a free version, although it’s very limited) and you get a discount on the Pro version if you have less than 50,000 lifetime views on your channel. It ends up being $4.50USD a month (or $3.60 USD a month if you pay for a year in advance). It’s a good investment for someone who’s starting to see some growth on YouTube, but probably not if you’re still trying to reach milestones like 500 subs or 10,000 views.
You have to work hard to get anywhere on YouTube, but that doesn’t mean you should be toiling away at tedious stuff like typing in the same tags over and over. If you have any time-saving tips then make sure to share them with everyone in the comments!
Remember that your time is valuable =)

If you are using Filmora to edit YouTube videos, you can upload the video to YouTube directly from Filmora without download it again first, which can save you time. Besides, if you don’t want the video to be public, you can change Privacy to unlisted or private in Filmora.


Richard Bennett
Richard Bennett is a writer and a lover of all things video.
Follow @Richard Bennett
Richard Bennett
Oct 26, 2023• Proven solutions
You’ve shot a video you’re proud of and you can’t wait to post it! But, slow down, you have to edit all your clips together first. And then you have to export your video from the editing program, which can take a while. Then you have to wait for it to upload to YouTube, and once it’s up you have to write your description, add cards, and do a handful of other things.
The period between finishing a video and actually posting it for your subscribers to see can be long and tiresome. A lot of videos have probably died in these stages because their creators ran out of energy and patience.
Don’t let this happen to your videos! Here are 4 ways you can save time and avoid headaches during post-production:
3. Use default descriptions and tags
4. TubeBuddy’s bulk features and tagging tools
1. Create mini-projects
When you have alarge editing project with lots of different titles, animations, clip sequences, and PIP tracks it can get hard to keep track of everything. That’s especially true if you need to go back and make changes. A change to one part of your video could affect other parts of it.
Also, the more complex your video is the longer it will take to render/export.
There is a way you can keep your project more organized, save time making minor adjustments, and speed up rendering: create sub-projects of different segments of your video and import them into your main project as their own clips.
This helps you in 3 ways:
1. If there are a lot of effects it’ll be faster to render a shorter video.
2. If you import your sequence as its own clip you won’t have to worry about adjusting little parts of it whenever you change earlier sections of your video.
3. If you do want to make adjustments to your sequence you can open up your mini-project and change it without affecting anything in your main project.
2. Optimize your upload speed
At home, your videos will upload fastest if all of your internet resources are devoted to the upload. That means you should not have any other windows open on your computer while you are uploading. You should also make sure there aren’t other devices competing for wifi like smart tvs, cell phones, or really fancy coffee makers.
If you have neighbors on the same wifi signal as you and they are online at the same time, this will slow you down too.
Because there is so much that can interfere with wifi, you might want to consider a wired Ethernet cable. Ethernet connections are faster in general, and you won’t have any problems with other devices competing for resources like you get with wifi.
If you’re doing everything you can to optimize your upload speed at home and still find that it takes an unreasonable amount of time to upload videos to YouTube, go somewhere with a better connection. Save your video to a USB drive and take it to a library or college to upload. Connections in these kinds of places tend to be very strong.
3. Use default descriptions and tags
In your Creator Studio, go to Channel > Upload defaults. Here you can write in titles, descriptions, and tags which will automatically be applied to every video you upload.
Note: in the latest YouTube Studio, the upload interface is changed but the main process is similar.
You probably have tags you use for almost every video you post. For example, if your channel is about vegan cooking then every one of your videos is probably tagged ‘vegan’, ‘food’, and ‘cooking’. If you type those tags in here then you don’t have to keep adding them to every new video, and you can still add or remove tags from individual uploads so you aren’t stuck using the exact same set of tags every time.
Similarly, you probably have some default text that goes in the description of every one of your videos (i.e. a link to your personal website or a brief introduction of yourself). If you type in a default description then that text will appear automatically in every new video description and you can just add to it when you need to for individual videos.
Using defaults might only save you a couple of minutes per video, but those minutes add up.
4. TubeBuddy’s bulk features and tagging tools
TubeBuddy is a channel management tool for YouTube. Most of its features are more geared towards very large channels or companies with a YouTube presence, but there are also features that can help small or mid-sized YouTubers save time and stay organized.
Some of these tools include templates for things like cards and end screens and bulk processing tools for when you want to change a lot of things at once. For example, if you wanted to update the links in every card in every one of your videos at once then TubeBuddy could help with that.
Some of TubeBuddy’s best features for growing channels are the tagging features. TubeBuddy will help you discover tags, suggest new tags, and even copy whole lists of tags from rival videos.
There are different levels of pricing for TubeBuddy (including a free version, although it’s very limited) and you get a discount on the Pro version if you have less than 50,000 lifetime views on your channel. It ends up being $4.50USD a month (or $3.60 USD a month if you pay for a year in advance). It’s a good investment for someone who’s starting to see some growth on YouTube, but probably not if you’re still trying to reach milestones like 500 subs or 10,000 views.
You have to work hard to get anywhere on YouTube, but that doesn’t mean you should be toiling away at tedious stuff like typing in the same tags over and over. If you have any time-saving tips then make sure to share them with everyone in the comments!
Remember that your time is valuable =)
If you are using Filmora to edit YouTube videos, you can upload the video to YouTube directly from Filmora without download it again first, which can save you time. Besides, if you don’t want the video to be public, you can change Privacy to unlisted or private in Filmora.
Richard Bennett
Richard Bennett is a writer and a lover of all things video.
Follow @Richard Bennett
Online Marketplaces for Partnering With YouTube Content Makers
FameBit Alternatives for Finding YouTube Sponsorships
Richard Bennett
Oct 26, 2023• Proven solutions
Famebit is the most popular influencer marketing platform, but there are lots of sites like Famebit where YouTube creators can find sponsorships. The key is to find one where you won’t be reduced to a database entry listing your channel’s genre and your subscriber count.
If you want to be valued for your talent then FameBit is a great choice, but it’s not your only choice. If you are serious about finding sponsorships and creating branded content then there is no reason you shouldn’t be on multiple platforms.
4 Alternatives to FameBit
Here are four influencer marketing platforms besides FameBit that cater to creators, not just brands.
Revfluence
Revfluence promises creators they will be able to ‘create content on their terms’. They work with both YouTubers and Instagrammers.
A lot of big fashion brands like Calvin Klein, Madewell, and Gap can be found on Revfluence. This platform is a must if you have a lifestyle, beauty, or fashion channel.
On Revfluence you can browse through brands instead of waiting for them to contact you. You choose which companies you want to endorse, so you never have to worry about losing your integrity in the eyes of your subscribers. Once you find a sponsor, you maintain control over how you choose to collaborate with them.

TapInfluence
TapInfluence might initially seem more brand-focused than equal, like FameBit, because it makes you wait for brands to select you. You are not simply on-call for any brand willing to pay, though.
After a brand approaches you, you get to examine their offer and decide whether you would feel proud to be associated with them.
The main thing that sets TapInfluence apart from other platforms where brands approach you is their attitude towards influencers and the way they define influence.
Some creators get turned off by the word ‘influencer’, and it is easy to understand why. Your subscriber count is important when you want to participate in an ad campaign, but your subscribers are not just numbers and you are not some kind of puppetmaster ‘influencing’ them for monetary gain.
TapInfluence values authenticity and works with brands that hold that same value. Your ability to be genuine with your audience is never compromised because it is that honest relationship that makes you valuable to brands.
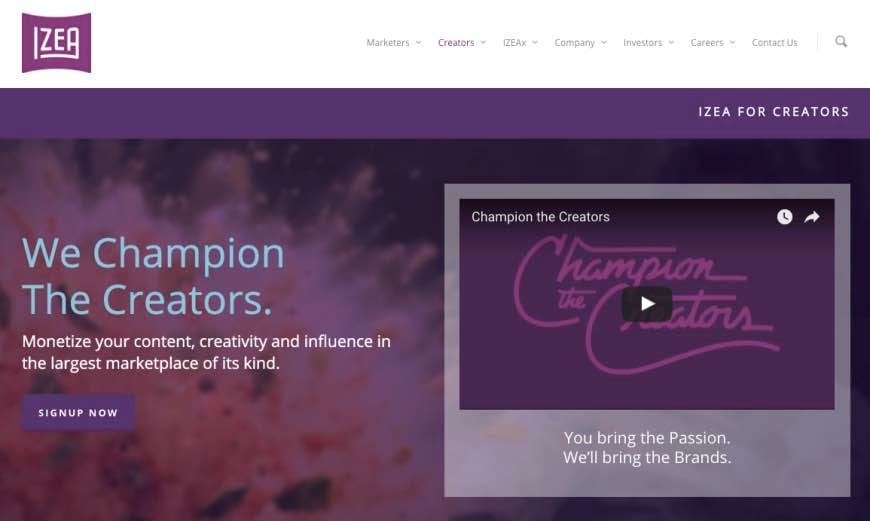
Izea
Izea’s motto states that they champion the creators. They value you for whatever it is you already do, be it ranting vlogs or educational content.
When you create your profile on Izea you connect your YouTube account, and any other social media account you open to use for branded content. You also describe your audience and state your asking price.
Brands distribute their sponsorship opportunities to select groups of creators based on what they are looking for. Sponsors may approach you, or you can take matters into your own hands and approach brands with creative pitches.
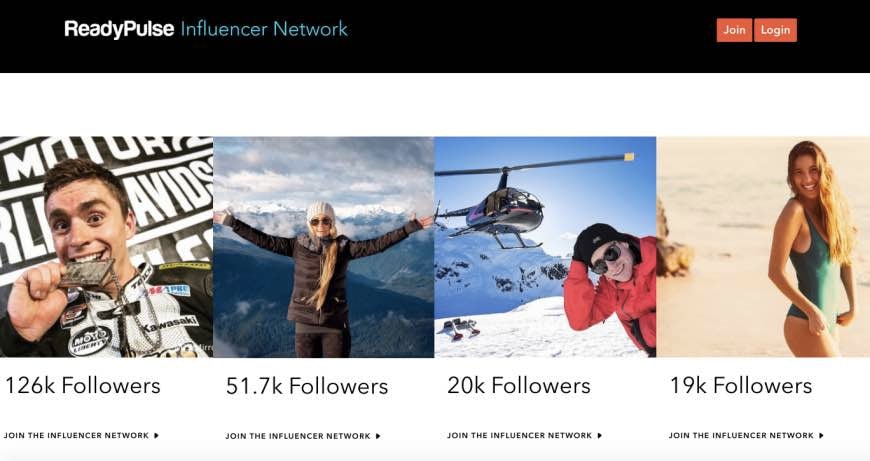
ReadyPulse
ReadyPulse is different from both FameBit and the other platforms on this list because you do not join brands for specific campaigns, you become a brand ambassador.
The idea is that you continue being you – creating the same style of content you already do – but you also have a relationship with a brand that you openly support and advocate for. The trust your subscribers have in you is supposed to be extended to your associated brands.
This is excellent if you have the opportunity to become a brand ambassador for a company you respect and are excited to work with. You can get all kinds of perks – like discounts and early releases – from your partner brand, and there is no reason you should not want your subscribers to trust the brand that you trust.
It becomes problematic if you find yourself matched with brands you do not have total confidence in, although ReadyPulse does try to match brands with influencers who are already fans of them.
Only you can decide if becoming a brand ambassador is right for you and your audience.
Do you know about any other sites like Famebit?
If you want to find a video editing solution that empowers your imagination and creativity yet takes less effort, please try this robust and user-friendly video editing software Wondershare Filmora, which will definitely enhance your productivity and helps you to make money by making videos much easier.
Richard Bennett
Richard Bennett is a writer and a lover of all things video.
Follow @Richard Bennett
Richard Bennett
Oct 26, 2023• Proven solutions
Famebit is the most popular influencer marketing platform, but there are lots of sites like Famebit where YouTube creators can find sponsorships. The key is to find one where you won’t be reduced to a database entry listing your channel’s genre and your subscriber count.
If you want to be valued for your talent then FameBit is a great choice, but it’s not your only choice. If you are serious about finding sponsorships and creating branded content then there is no reason you shouldn’t be on multiple platforms.
4 Alternatives to FameBit
Here are four influencer marketing platforms besides FameBit that cater to creators, not just brands.
Revfluence
Revfluence promises creators they will be able to ‘create content on their terms’. They work with both YouTubers and Instagrammers.
A lot of big fashion brands like Calvin Klein, Madewell, and Gap can be found on Revfluence. This platform is a must if you have a lifestyle, beauty, or fashion channel.
On Revfluence you can browse through brands instead of waiting for them to contact you. You choose which companies you want to endorse, so you never have to worry about losing your integrity in the eyes of your subscribers. Once you find a sponsor, you maintain control over how you choose to collaborate with them.
TapInfluence
TapInfluence might initially seem more brand-focused than equal, like FameBit, because it makes you wait for brands to select you. You are not simply on-call for any brand willing to pay, though.
After a brand approaches you, you get to examine their offer and decide whether you would feel proud to be associated with them.
The main thing that sets TapInfluence apart from other platforms where brands approach you is their attitude towards influencers and the way they define influence.
Some creators get turned off by the word ‘influencer’, and it is easy to understand why. Your subscriber count is important when you want to participate in an ad campaign, but your subscribers are not just numbers and you are not some kind of puppetmaster ‘influencing’ them for monetary gain.
TapInfluence values authenticity and works with brands that hold that same value. Your ability to be genuine with your audience is never compromised because it is that honest relationship that makes you valuable to brands.
Izea
Izea’s motto states that they champion the creators. They value you for whatever it is you already do, be it ranting vlogs or educational content.
When you create your profile on Izea you connect your YouTube account, and any other social media account you open to use for branded content. You also describe your audience and state your asking price.
Brands distribute their sponsorship opportunities to select groups of creators based on what they are looking for. Sponsors may approach you, or you can take matters into your own hands and approach brands with creative pitches.
ReadyPulse
ReadyPulse is different from both FameBit and the other platforms on this list because you do not join brands for specific campaigns, you become a brand ambassador.
The idea is that you continue being you – creating the same style of content you already do – but you also have a relationship with a brand that you openly support and advocate for. The trust your subscribers have in you is supposed to be extended to your associated brands.
This is excellent if you have the opportunity to become a brand ambassador for a company you respect and are excited to work with. You can get all kinds of perks – like discounts and early releases – from your partner brand, and there is no reason you should not want your subscribers to trust the brand that you trust.
It becomes problematic if you find yourself matched with brands you do not have total confidence in, although ReadyPulse does try to match brands with influencers who are already fans of them.
Only you can decide if becoming a brand ambassador is right for you and your audience.
Do you know about any other sites like Famebit?
If you want to find a video editing solution that empowers your imagination and creativity yet takes less effort, please try this robust and user-friendly video editing software Wondershare Filmora, which will definitely enhance your productivity and helps you to make money by making videos much easier.
Richard Bennett
Richard Bennett is a writer and a lover of all things video.
Follow @Richard Bennett
Also read:
- [New] EditorPrime Design
- [New] In 2024, How to Convert YouTube Videos Seamlessly Into AVI
- [Updated] 2024 Approved Easier Cinematography Perfecting Fade Effects
- [Updated] In 2024, Top 10 Kids' Friendly Drones - For New Flyers
- 2024 Approved Mastering VRecorder Download, Install!
- Accelerate Channels YouTube's Top Collaborative Growth Tips
- Access Short Videos Anywhere The Top 6 Free & Online YouTube Short Download Apps
- In 2024, Digital Splendor on YouTube The Hue Harmonization Way
- In 2024, Enhancing Video Content Top Formats on YouTube
- In 2024, List of Pokémon Go Joysticks On Vivo Y100 5G | Dr.fone
- Instagram Pro Tips Effortless Video Upload From PC/Mac for 2024
- MXFファイルからMP4へのコストなしオンライン変換 - Movavi
- Title: Unleash Speed in Your YouTube Videography with Rapid Techniques
- Author: Brian
- Created at : 2024-10-04 01:08:13
- Updated at : 2024-10-06 23:30:47
- Link: https://youtube-video-recordings.techidaily.com/unleash-speed-in-your-youtube-videography-with-rapid-techniques/
- License: This work is licensed under CC BY-NC-SA 4.0.