
"In 2024, Cutting-Edge Techniques for YouTube Thumbnails, Made for macOS"
Cutting-Edge Techniques for YouTube Thumbnails, Made for macOS
How to Make a YouTube Thumbnail On Mac

Shanoon Cox
Oct 26, 2023• Proven solutions
As a Youtuber, the first thing you would want is to achieve is a high number of views on your videos. One of the most crucial factors that determine whether the video will be a success or not is the thumbnail.
You need to design an attractive youtube custom thumbnail as it can up your game and get you significantly more views. this calls for you to exercise your artistic skills to the best, to be able to create thumbnails that make it almost irresistible for the viewers to scroll down without watching the video.
However, if you are wondering how that can be achieved then fret no longer for this article will explain the simple process of creating youtube thumbnails easily. All you need is a capable thumbnail maker like FilmoraX that can do it all for you in one automagical flourish!

What is a Youtube Thumbnail?
A youtube thumbnail is a smaller version of the video, a snapshot that you choose as a preview of your video. A Thumbnail is extremely important because it is essentially the outer packaging of your video; its front cover.
Much like the cover of a book, a thumbnail has to be attractive so that it can tempt your potential viewers to stop and watch your video while they are scrolling on youtube.
thumbnails are a significant factor in determining the number of views a Youtuber gets on his videos.
If you don’t create a thumbnail then youtube will generate one by itself which may not be so enticing for viewers. The purpose of the thumbnail is to make your videos stand out among the rest so you need to pay attention to it!

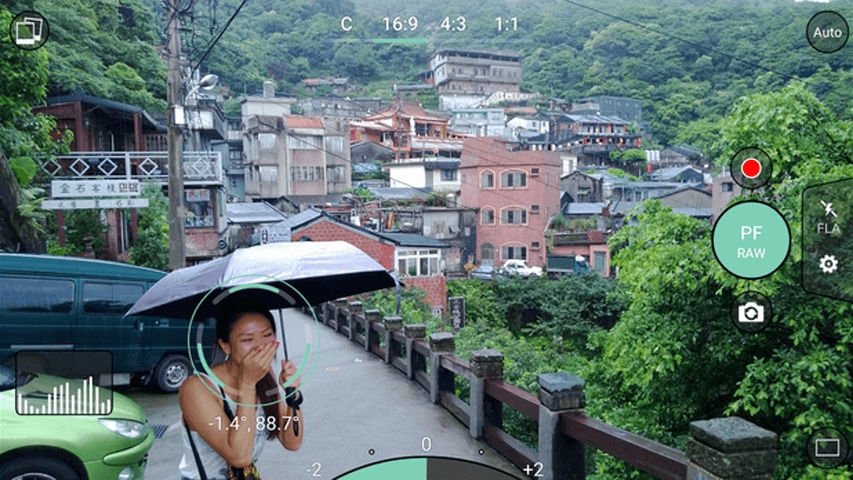
How to make Youtube Thumbnails on Mac
You can easily create interesting thumbnails for youtube videos using a thumbnail maker likeFilmoraX . Here is a step by step guide:
1. Preview the video and choose the still snapshot
The first step in creating a thumbnail is to import the final video into the FilmoraX editor on your MacBook.

Then, use the thumbnail editor to play your video and choose the snapshot that you want to be appearing as your thumbnail.
You can easily choose the frame from the video or use the preview frame button to view the frames one by one!

2. Add text, shape, and image overlays
Once you’ve chosen the frame for the thumbnail, the next step would be to add text to it to catch the attention of the audience. You can also adjust the thumbnail size as per your requirement, however, the ideal size would be 1280x720 pixels with a minimum width of 640 pixels.

3. Add effects
FilmoraX has a wide range of effects that you can apply to your videos or pictures to make them look more attractive.

4. Save the thumbnail
After you are done with all the editing, the final step would be to save the youtube thumbnail by hitting the save button.
Once you save you’ll see how your thumbnail will feature on different platforms like Facebook, Youtube, and Twitter.
So, using this thumbnail maker you can easily create custom thumbnails for your videos!
Conclusion
Hopefully, the above-mentioned steps have given you enough insight and clarity on making creative and good youtube thumbnails. Using FilmoraX will further simplify the process for you with its amazing tools and features!


Shanoon Cox
Shanoon Cox is a writer and a lover of all things video.
Follow @Shanoon Cox
Shanoon Cox
Oct 26, 2023• Proven solutions
As a Youtuber, the first thing you would want is to achieve is a high number of views on your videos. One of the most crucial factors that determine whether the video will be a success or not is the thumbnail.
You need to design an attractive youtube custom thumbnail as it can up your game and get you significantly more views. this calls for you to exercise your artistic skills to the best, to be able to create thumbnails that make it almost irresistible for the viewers to scroll down without watching the video.
However, if you are wondering how that can be achieved then fret no longer for this article will explain the simple process of creating youtube thumbnails easily. All you need is a capable thumbnail maker like FilmoraX that can do it all for you in one automagical flourish!
What is a Youtube Thumbnail?
A youtube thumbnail is a smaller version of the video, a snapshot that you choose as a preview of your video. A Thumbnail is extremely important because it is essentially the outer packaging of your video; its front cover.
Much like the cover of a book, a thumbnail has to be attractive so that it can tempt your potential viewers to stop and watch your video while they are scrolling on youtube.
thumbnails are a significant factor in determining the number of views a Youtuber gets on his videos.
If you don’t create a thumbnail then youtube will generate one by itself which may not be so enticing for viewers. The purpose of the thumbnail is to make your videos stand out among the rest so you need to pay attention to it!
How to make Youtube Thumbnails on Mac
You can easily create interesting thumbnails for youtube videos using a thumbnail maker likeFilmoraX . Here is a step by step guide:
1. Preview the video and choose the still snapshot
The first step in creating a thumbnail is to import the final video into the FilmoraX editor on your MacBook.
Then, use the thumbnail editor to play your video and choose the snapshot that you want to be appearing as your thumbnail.
You can easily choose the frame from the video or use the preview frame button to view the frames one by one!
2. Add text, shape, and image overlays
Once you’ve chosen the frame for the thumbnail, the next step would be to add text to it to catch the attention of the audience. You can also adjust the thumbnail size as per your requirement, however, the ideal size would be 1280x720 pixels with a minimum width of 640 pixels.
3. Add effects
FilmoraX has a wide range of effects that you can apply to your videos or pictures to make them look more attractive.
4. Save the thumbnail
After you are done with all the editing, the final step would be to save the youtube thumbnail by hitting the save button.
Once you save you’ll see how your thumbnail will feature on different platforms like Facebook, Youtube, and Twitter.
So, using this thumbnail maker you can easily create custom thumbnails for your videos!
Conclusion
Hopefully, the above-mentioned steps have given you enough insight and clarity on making creative and good youtube thumbnails. Using FilmoraX will further simplify the process for you with its amazing tools and features!
Shanoon Cox
Shanoon Cox is a writer and a lover of all things video.
Follow @Shanoon Cox
Incredible Mobile Photography & Videography Apps for iOS/Android
Best Camera Apps to Shoot and Record Videos on iPhone and Andriod Phones

Richard Bennett
Oct 26, 2023• Proven solutions
Smartphone cameras, especially the newest models, are capable of recording great videos. Depending on what kind of videos you make, you might not actually need a separate camera.
The majority of phone cameras record in full HD now, and some can even manage 4K. Where things get tricky is shooting in less than ideal conditions, i.e low light. You cannot make the same adjustments and customizations to your settings with a smartphone camera as you can with a DSLR.
You don’t have the same level of control.
But don’t worry – there are 5 camera apps that will allow you to record videos and get even more creative with how you use your phone’s camera.
- Part 1: Bonus Tip-Make Your Own Video with Wondershare Filmora
- Part 2: Best 5 Camera Apps to Record Videos on iPhone and Android
Part 1: Bonus Tip-Make Your Own Video with Wondershare Filmora
Wondershare Filmora is an amazing video editor for both professional staff and beginners. Its intuitive interface, fast timeline rendering, advanced color tuning, and surprising video effects, etc will make your video stand out! Just download it and edit your smartphone videos with Wondershare Filmora!
Part 2: Best 5 Camera Apps to Record Videos on iPhone and Android
Let’s dive!
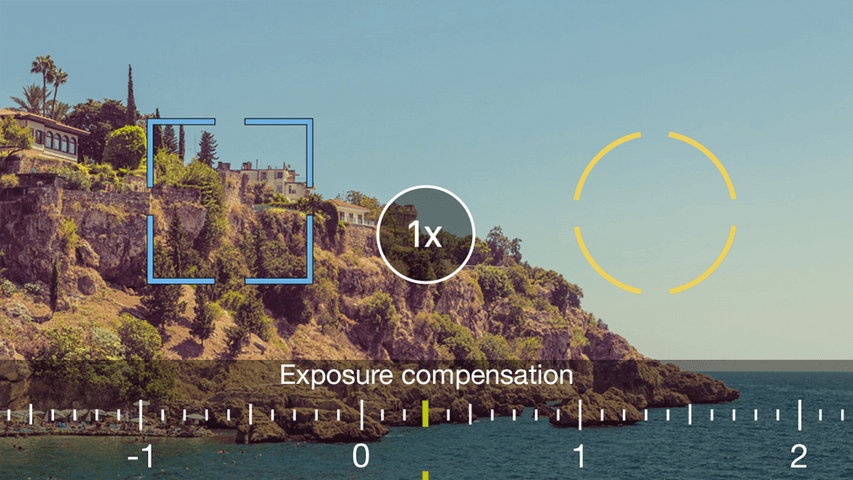
1. Open Camera – Free, Android Only

This camera app gives you control over your exposure, flash, focus, ISO, shutter speed, torch, and white balance. How much control you have is up to you. If managing all these things manually is a hassle for you, you can use its automatic or semi-manual modes instead of manual mode.
This is a great camera app to record time-lapses. It is simplistic compared to some of the other apps on this list, but it is also extremely easy to use.
2. ProShot - $4, iOS or Android
ProShot lets you adjust your frame rate, which is important if you want to shoot slow motion or time-lapse videos. You can also adjust your brightness while filming. One of the most useful features of this camera app is that it provides a real-time audio level meter, so you won’t be surprised by a poor sound recording when you watch your videos back.
3. ProCamera - $5, iOS Only
This is one of the most frequently recommended camera apps for iPhones. It makes it easy for you to adjust your focus, iOS, and exposure. You can also play with different filters and effects right in the app. One of the only downsides of this app is that some of its most useful features, like Lowlight Plus, are in-app purchases.
4. Sun Seeker - $10, iOS or Android

A lot of the time when you’re shooting with your phone, you’re shooting outside. When you’re shooting outside, the most important thing you need to keep track of is the sun. Sun Seeker is the perfect app for figuring out where the sun will be in the sky at any given time, which will tell you the best time to go out and make your video.
For more information on making videos with natural light, check out Indoor Natural Lighting Tips .
Besides just keeping track of the sun, Sun Seeker provides an augmented reality view of its path and how it will affect specific locations.
5. FiLMiC Pro - $10, iOS or Android
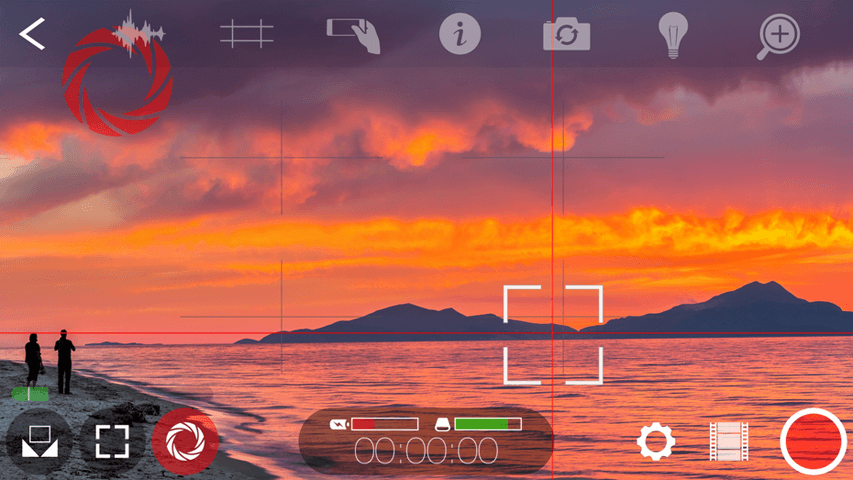
This is probably the best all-purpose camera app available. It gives you exactly the same kind of control over your smartphone camera as you would have over a DSLR. You can manually adjust your focus, exposure, ISO, shutter speed, tint, and color temperature. There are even voice processing audio filters, so you can capture better audio while you’re shooting and have less to fix in post.
Final Words
Because mobile cameras already perform so well, it can be easy to think to have more to adjust would only make things more complicated. However, there are occasions where you need to be able to make these adjustments. Are the videos you take inside at night at a lower quality than the ones you record during the day, for example? If you could set a higher ISO, you would be able to fix that.
Another example: just the other day, there was a question here about shooting green screen videos on a mobile device. One of our community members, Vivekpanwar, was having an issue with motion blur. Motion blur isn’t always distracting in normal videos, but it becomes a huge issue when you apply a Chroma key effect. The best way to avoid motion blur is to set a high shutter speed, which you can do if you download a quality camera app.
Richard Bennett
Richard Bennett is a writer and a lover of all things video.
Follow @Richard Bennett
Richard Bennett
Oct 26, 2023• Proven solutions
Smartphone cameras, especially the newest models, are capable of recording great videos. Depending on what kind of videos you make, you might not actually need a separate camera.
The majority of phone cameras record in full HD now, and some can even manage 4K. Where things get tricky is shooting in less than ideal conditions, i.e low light. You cannot make the same adjustments and customizations to your settings with a smartphone camera as you can with a DSLR.
You don’t have the same level of control.
But don’t worry – there are 5 camera apps that will allow you to record videos and get even more creative with how you use your phone’s camera.
- Part 1: Bonus Tip-Make Your Own Video with Wondershare Filmora
- Part 2: Best 5 Camera Apps to Record Videos on iPhone and Android
Part 1: Bonus Tip-Make Your Own Video with Wondershare Filmora
Wondershare Filmora is an amazing video editor for both professional staff and beginners. Its intuitive interface, fast timeline rendering, advanced color tuning, and surprising video effects, etc will make your video stand out! Just download it and edit your smartphone videos with Wondershare Filmora!
Part 2: Best 5 Camera Apps to Record Videos on iPhone and Android
Let’s dive!
1. Open Camera – Free, Android Only
This camera app gives you control over your exposure, flash, focus, ISO, shutter speed, torch, and white balance. How much control you have is up to you. If managing all these things manually is a hassle for you, you can use its automatic or semi-manual modes instead of manual mode.
This is a great camera app to record time-lapses. It is simplistic compared to some of the other apps on this list, but it is also extremely easy to use.
2. ProShot - $4, iOS or Android
ProShot lets you adjust your frame rate, which is important if you want to shoot slow motion or time-lapse videos. You can also adjust your brightness while filming. One of the most useful features of this camera app is that it provides a real-time audio level meter, so you won’t be surprised by a poor sound recording when you watch your videos back.
3. ProCamera - $5, iOS Only
This is one of the most frequently recommended camera apps for iPhones. It makes it easy for you to adjust your focus, iOS, and exposure. You can also play with different filters and effects right in the app. One of the only downsides of this app is that some of its most useful features, like Lowlight Plus, are in-app purchases.
4. Sun Seeker - $10, iOS or Android
A lot of the time when you’re shooting with your phone, you’re shooting outside. When you’re shooting outside, the most important thing you need to keep track of is the sun. Sun Seeker is the perfect app for figuring out where the sun will be in the sky at any given time, which will tell you the best time to go out and make your video.
For more information on making videos with natural light, check out Indoor Natural Lighting Tips .
Besides just keeping track of the sun, Sun Seeker provides an augmented reality view of its path and how it will affect specific locations.
5. FiLMiC Pro - $10, iOS or Android
This is probably the best all-purpose camera app available. It gives you exactly the same kind of control over your smartphone camera as you would have over a DSLR. You can manually adjust your focus, exposure, ISO, shutter speed, tint, and color temperature. There are even voice processing audio filters, so you can capture better audio while you’re shooting and have less to fix in post.
Final Words
Because mobile cameras already perform so well, it can be easy to think to have more to adjust would only make things more complicated. However, there are occasions where you need to be able to make these adjustments. Are the videos you take inside at night at a lower quality than the ones you record during the day, for example? If you could set a higher ISO, you would be able to fix that.
Another example: just the other day, there was a question here about shooting green screen videos on a mobile device. One of our community members, Vivekpanwar, was having an issue with motion blur. Motion blur isn’t always distracting in normal videos, but it becomes a huge issue when you apply a Chroma key effect. The best way to avoid motion blur is to set a high shutter speed, which you can do if you download a quality camera app.
Richard Bennett
Richard Bennett is a writer and a lover of all things video.
Follow @Richard Bennett
Also read:
- [Updated] Elevate Engagement Youtube Insights for Timing
- [Updated] Elevating Engagement The Pillars of YouTube Rankings
- 2024 Approved Composing News Wrap-Up Scripts
- 2024 Approved Controlling Who Sees Your Youtube Productions
- 2024 Approved Elevate Your Online Presence Secrets of Youtube Live with WireCast
- Accelerate and Decelerate on Your Screen (Netflix)
- All About the Next Big Thing: The Samsung Galaxy Z Fold 6 - Price Guide and Specs Inside
- Bricked Your Samsung Galaxy A15 5G? Heres A Full Solution | Dr.fone
- Calculating YouTube's Income Potential with CPM Rates for 2024
- Detailed guide of ispoofer for pogo installation On Apple iPhone 6 | Dr.fone
- Enlightened Routines: ChatGPT for Consistent Mindfulness
- Mastering Soundscapes Expert Insights on Audio Post-Production in GarageBand for 2024
- Step-by-Step Guide: Updating and Installing the Latest Versions of XP-Pen Device Drivers
- Updated NVIDIA RTX 1080 Driver Package for Windows 1N - Fast & Easy Download Process!
- Title: In 2024, Cutting-Edge Techniques for YouTube Thumbnails, Made for macOS
- Author: Brian
- Created at : 2024-11-11 06:33:33
- Updated at : 2024-11-14 19:14:59
- Link: https://youtube-video-recordings.techidaily.com/in-2024-cutting-edge-techniques-for-youtube-thumbnails-made-for-macos/
- License: This work is licensed under CC BY-NC-SA 4.0.