
:max_bytes(150000):strip_icc()/bing-chat-249ea636b6c9418c885ecee7ef987bcb.png)
"In 2024, Comparing Profit Potential DailyMovement and Youtube's Earnings"
Comparing Profit Potential: DailyMovement and Youtube’s Earnings
Online video creators are always searching for ways to make their passion profitable. YouTube and Dailymotion are two of the largest video platforms. Millions of users use these platforms, and they have updated features. How do you choose the right video platform?
This article compares Dailymotion monetization to YouTube on privacy, audience, and analytics. To ease this exploration, Filmora is assisting us. This software edits videos to increase platforms’ income-generating potential. Read this article to monetize your videos in a better way, and join us on this journey.
Video Monetization Editor Create engaging and valuable videos with Wondershare Filmora for YouTube and Dailymotion Monetization!
Free Download Free Download Learn More

Part 1. Exploring YouTube and Dailymotion: Platforms for Creators

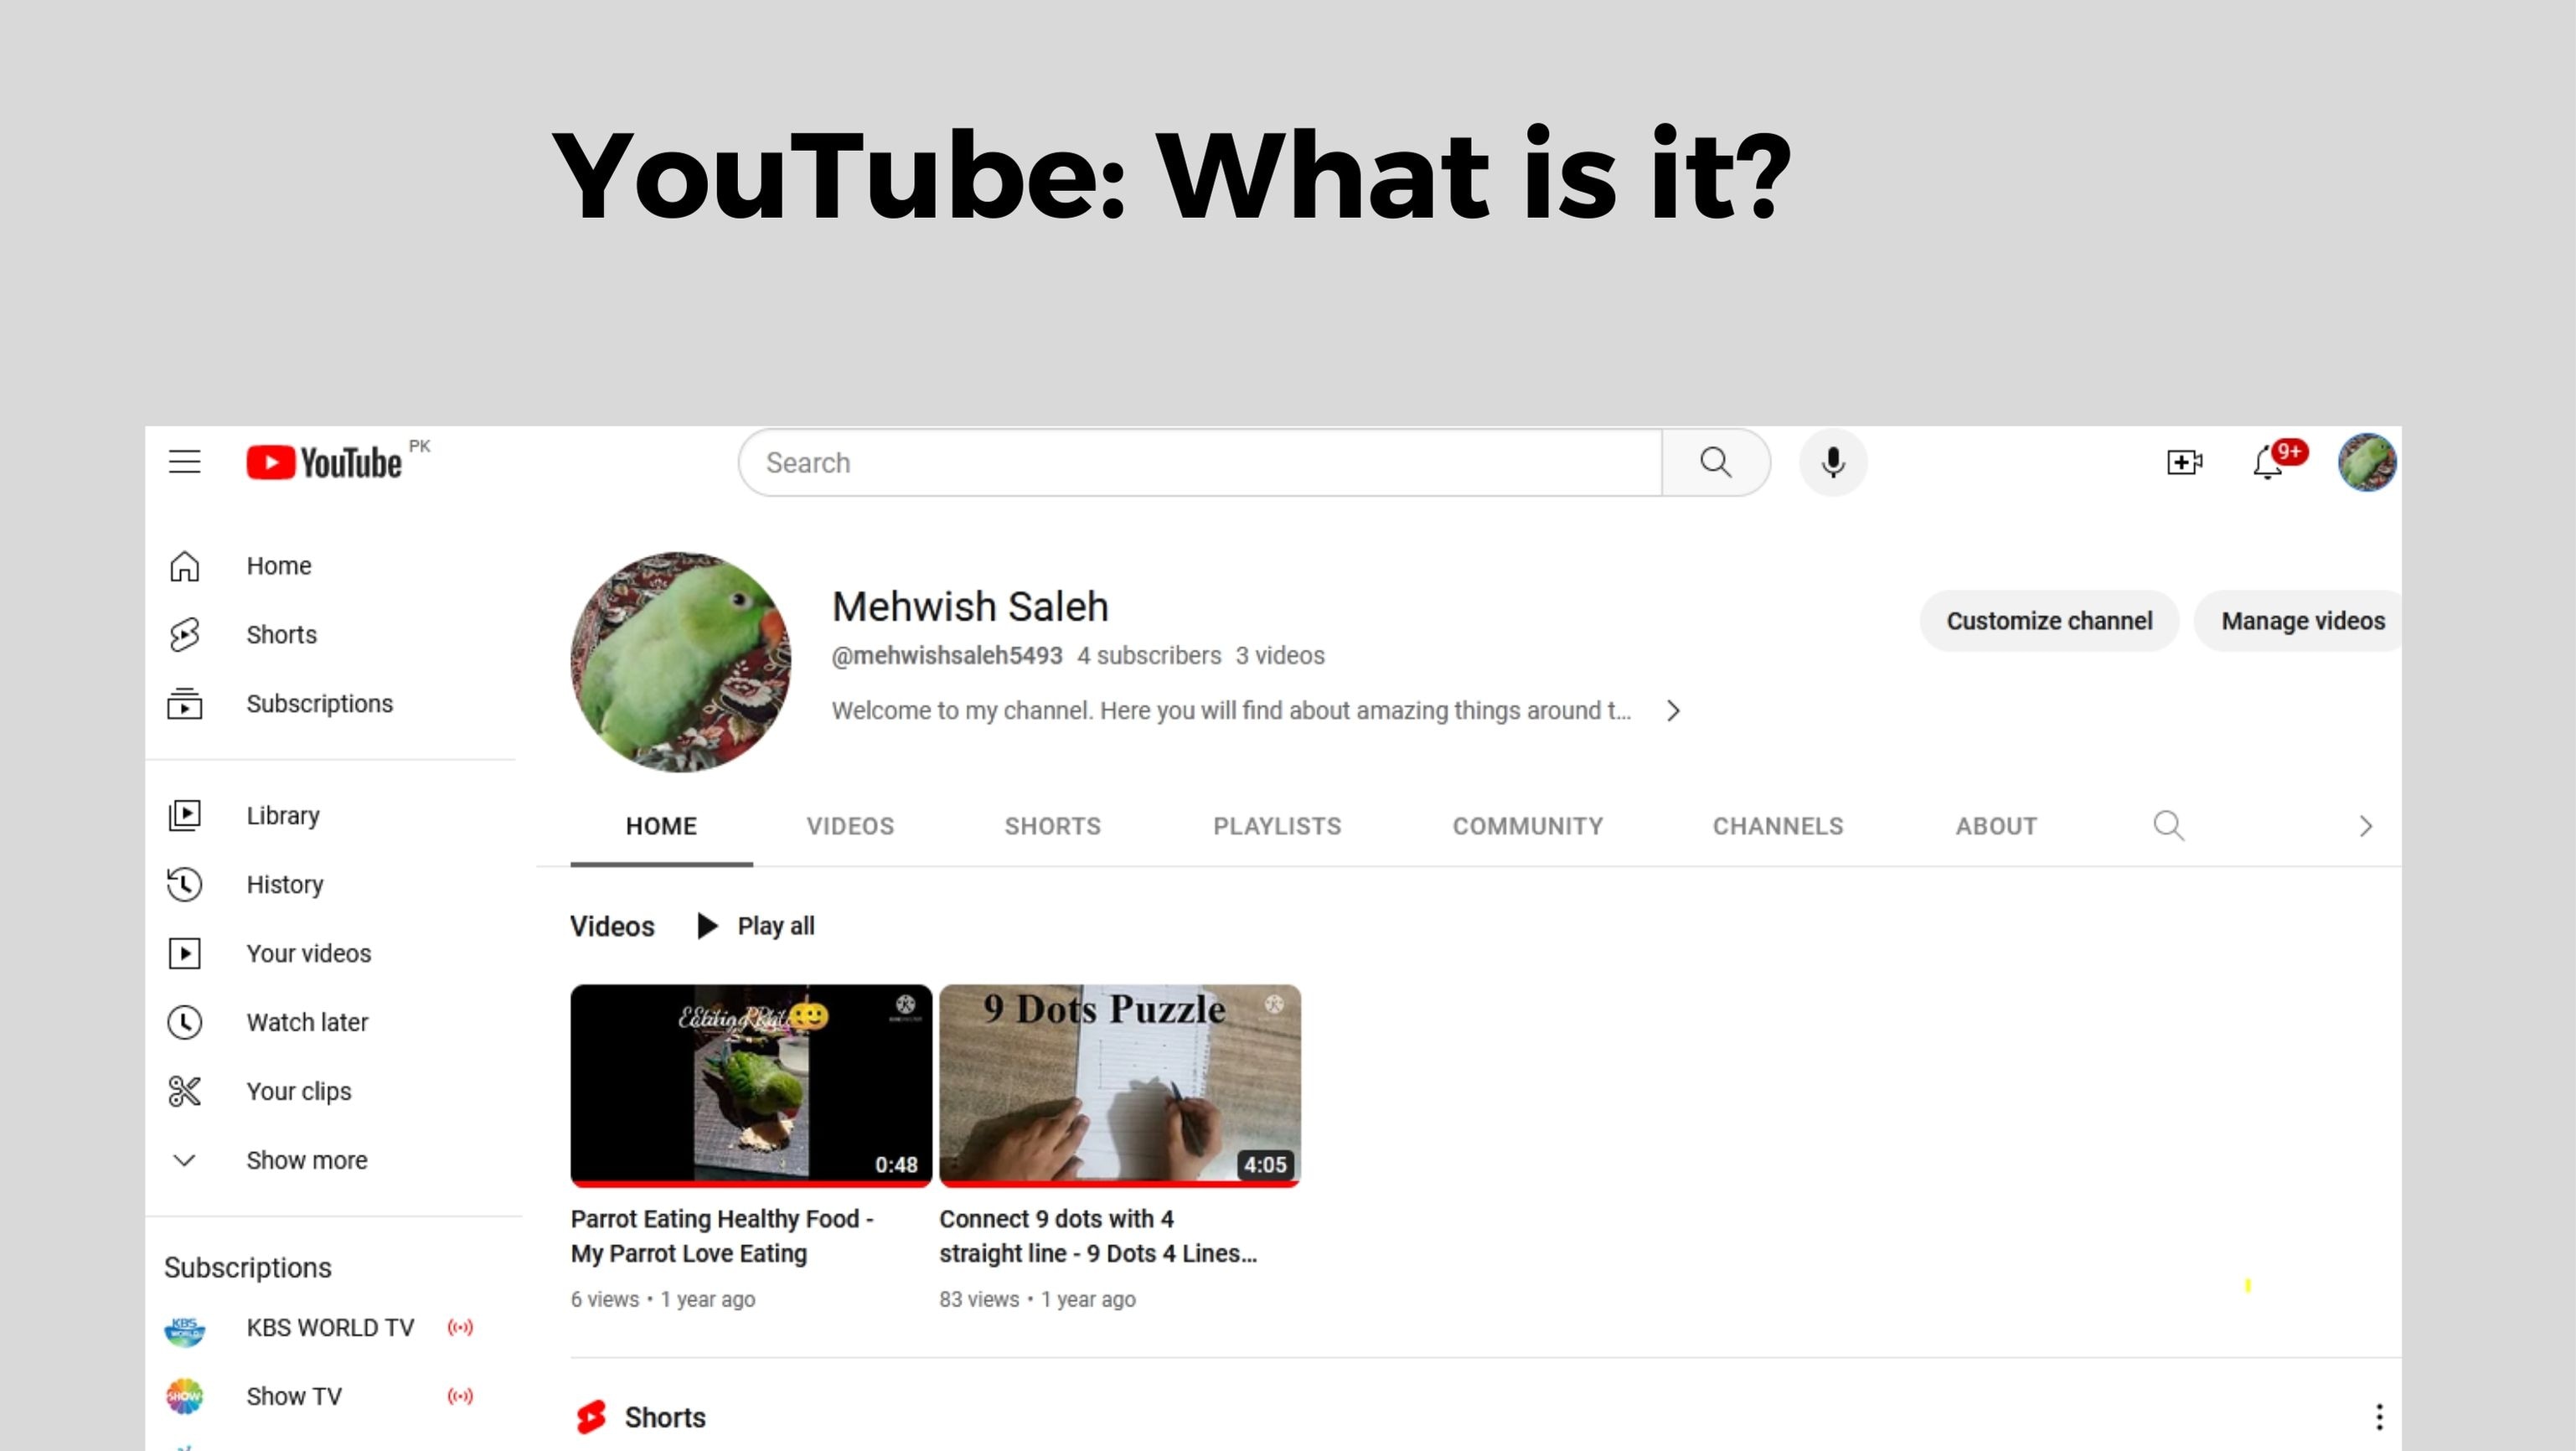
YouTube : What is it?
A three-person team, Chad Hurley, Steve Chen, and Jawed Karim, founded YouTube in 2005. Their goal is to create YouTube as a global platform for sharing videos. A huge $1.65 billion was paid by Google for buying YouTube. YouTube then became a more popular website with over two billion users every month.
Lots of creators, like makeup artists and gamers, make money on YouTube. With the platform, you can livestream, make money from your videos, and watch tons of user-made videos.
Dailymotion : What is it?
A French entrepreneur and an English entrepreneur founded Dailymotion in 2005. Dailymotion became one of the most popular video platforms in France and then Europe in just 1 year. You can upload and share videos on Dailymotion like on YouTube. There is a slight difference in their focus. Dailymotion’s content tends to be professional, while YouTube’s is user-made.
Dailymotion has over 300 million users every month. It’s accessible in 35 different languages. Also, for pro content, it offers features like “Motionmaker” to users and live streaming to creators.

The popularity and user base of YouTube and Dailymotion
YouTube’s user interface is very easy and simple to use. You can filter the results with date and popularity at the top bar of the website. You can watch YouTube without ads and gain access to YouTube analytics.
It’s cool to create your own channel on YouTube. It allows you to upload videos, customize your banner, and create a community.
It is easy to stream videos or share them with friends by creating playlists. YouTube and Dailymotion both have easy-to-use interfaces. You can customize your own channel, and it has categories and channels. YouTube has advanced playlist features, but Dailymotion does not.
It’s not all fun and games - YouTube has fewer ads than Dailymotion. A premium subscription to Dailymotion removes the ads and gives you access to other features.
Both Platforms have Different Content and Audiences
YouTube Content and Audience
Video content on YouTube ranges from cooking tips to music videos. It even offers live streaming concerts and mind-blowing documentaries. Gamer, beauty, sports, and learning enthusiasts will enjoy this channel.
YouTube allows you to upload 12-hour-long videos to increase your watch time. You can also share all types of experiences in the long video. Every day, 2.51 billion active users watch over one billion hours of content. Creators can showcase their work in high definition, up to 8K, on the platform, which is a major advantage. Mobile devices and smartphones also allow offline viewing of videos.
Dailymotion Content and Audience
There’s something special about Dailymotion. The site provides YouTube videos, animated shorts, music, documentaries, and TV shows. Although Dailymotion has upload limits, its videos are still of high quality, up to 1080p. There is a vibrant community of creators looking to connect with their audiences as well. There were 545.3 million visits to Dailymotion in April 2023, making it a strong competitor. Depending on your taste and the content you’re looking for, you can choose either.
Part 2. YouTube vs. Dailymotion Monetization: Unraveling the Key Differences
YouTube and Dailymotion monetization features and opportunities
It’s crucial for content creators to know which monetization options each platform offers. Let’s have a look at the monetization options available on YouTube and Dailymotion. It is possible to earn money from your content on both Dailymotion and YouTube. Dailymotion is easier to monetize, despite its broader and more sophisticated offering.
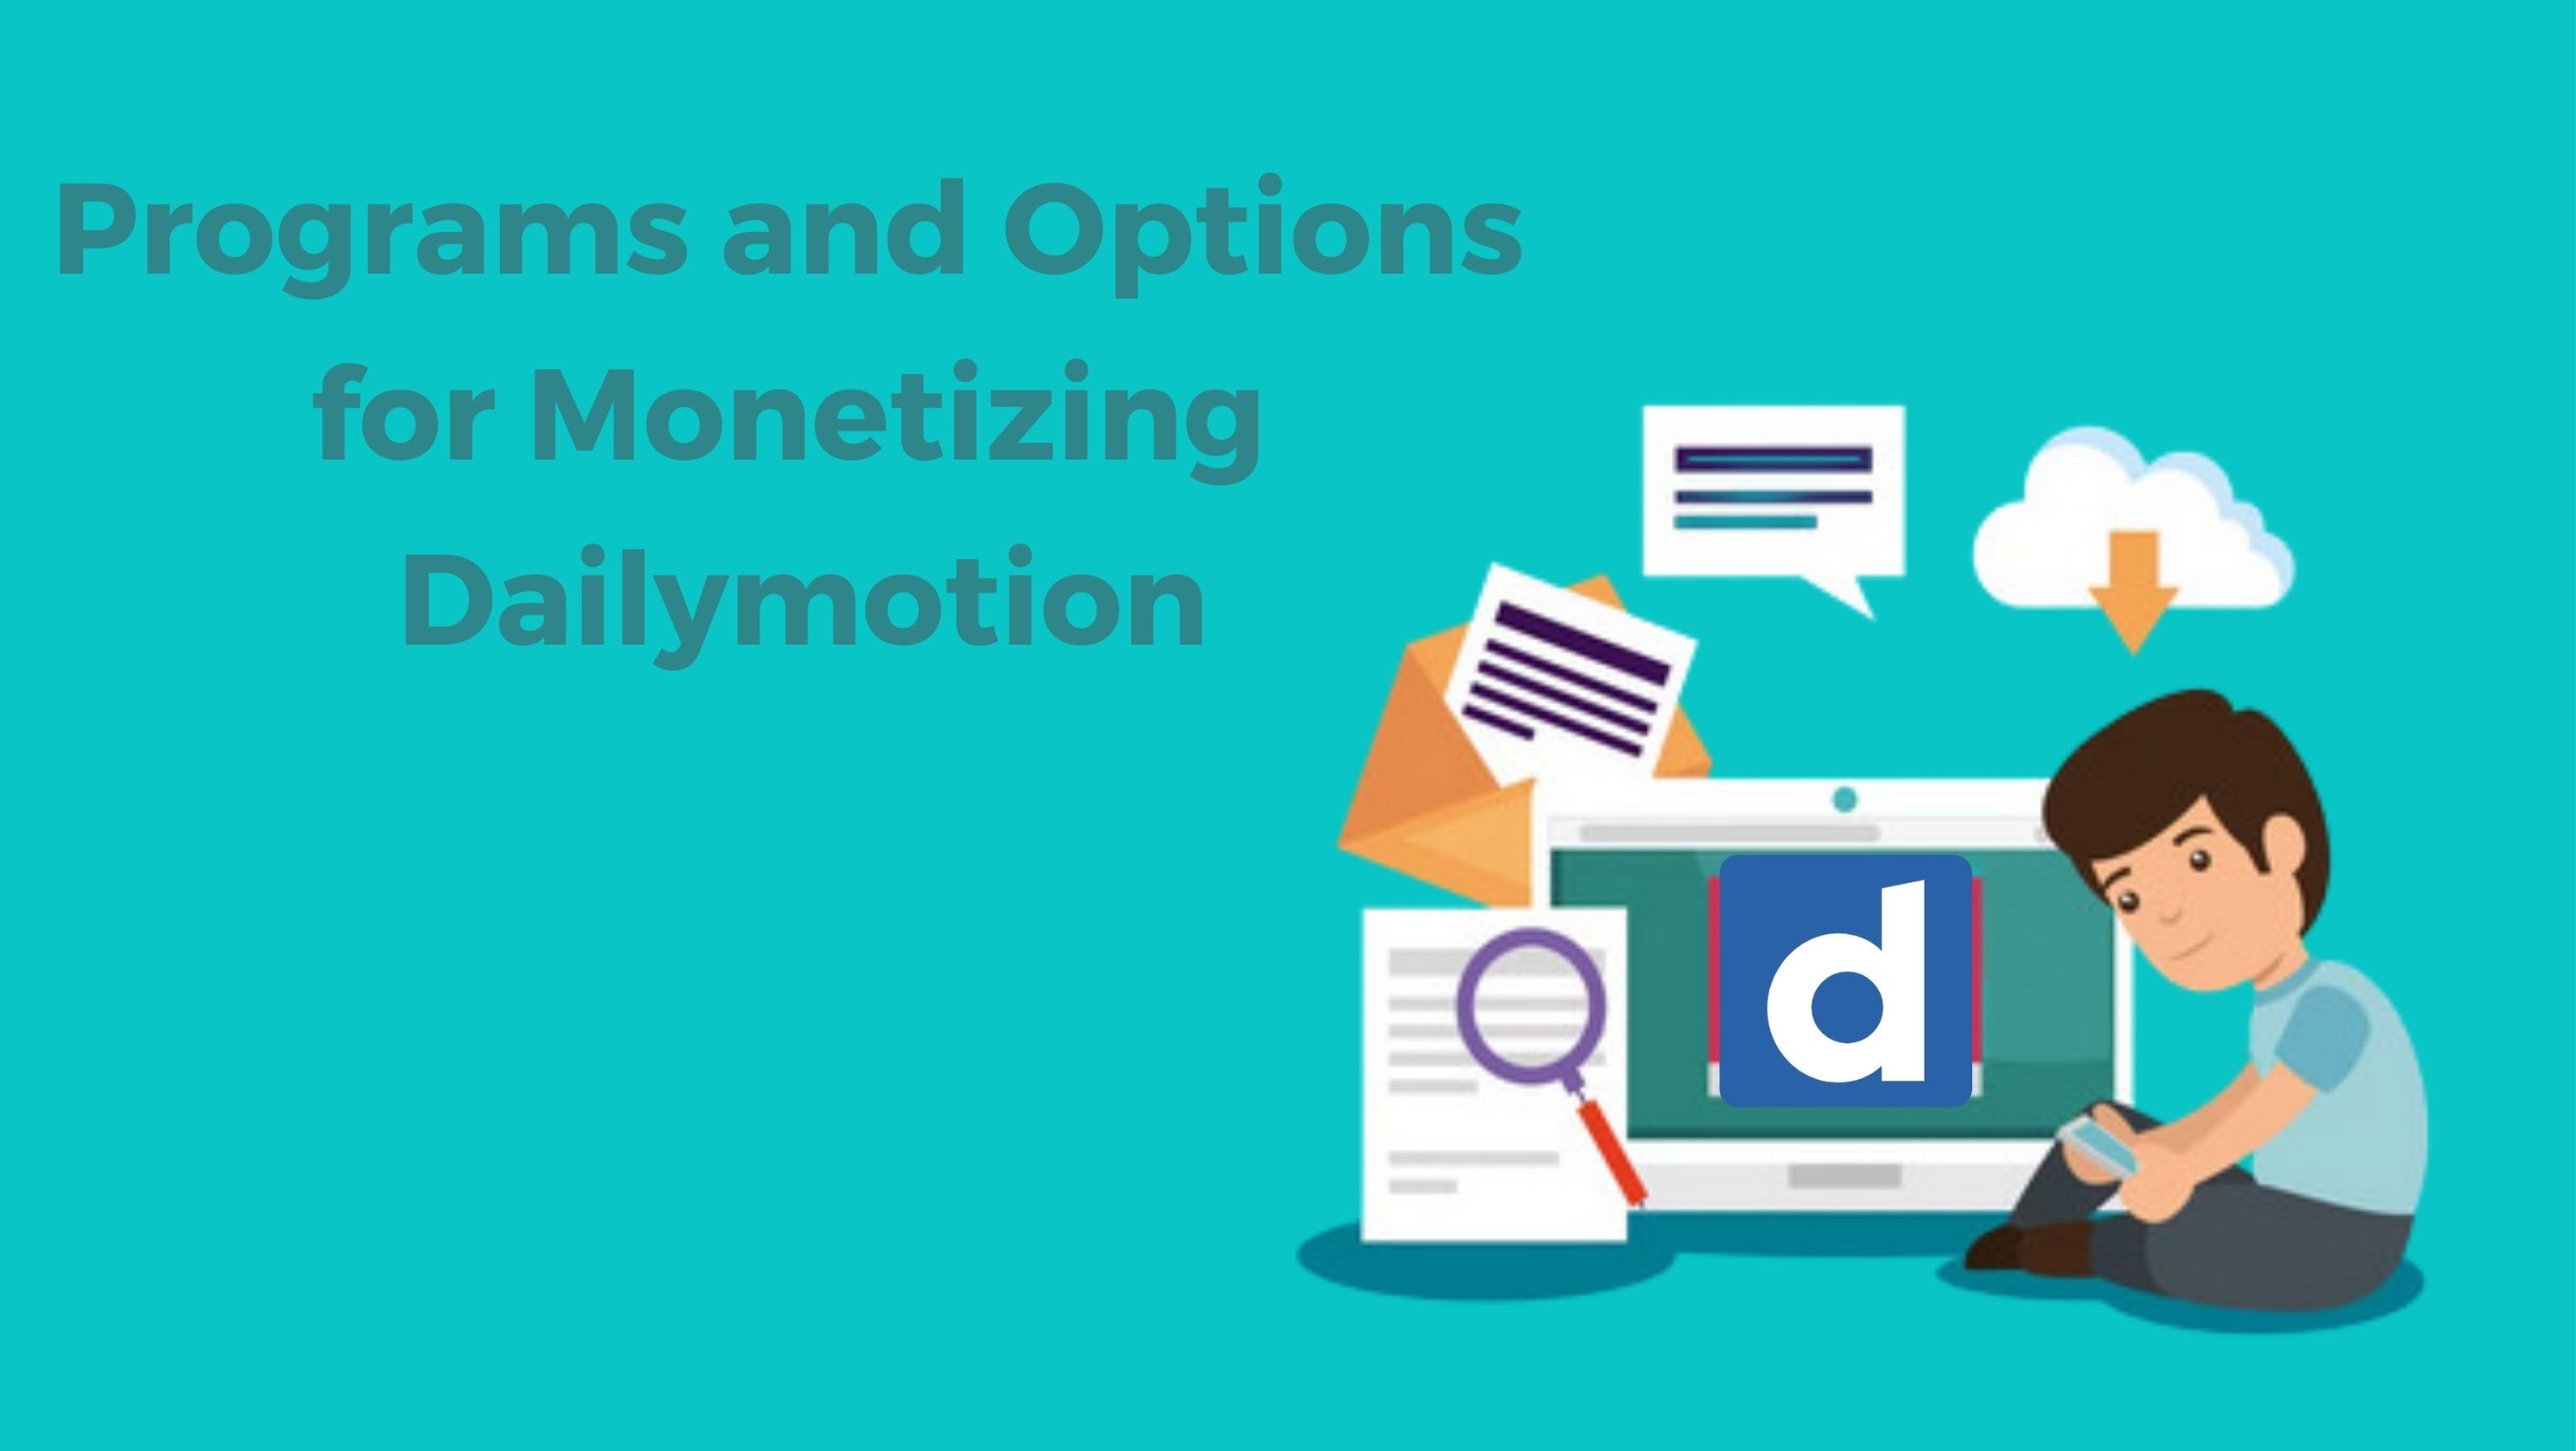
Programs and options for monetizing YouTube
There are many ways for YouTube creators to make money from their content. You can display video ads for sponsorships, AdSense payments, and merchandise sales. YouTube offers more monetization options and is more advanced than Dailymotion. The YouTube monetization rules can be tricky to meet for eligible accounts.
Programs and options for monetizaton Dailymotion
Creators can also monetize their content on Dailymotion. Dailymotion has fewer monetization options than YouTube. Unlike YouTube, Dailymotion allows creators to earn money through ads.
The Dailymotion Partner Program has made several French video creators extremely wealthy. The CPM is always low for video creators around the world, for whatever reason. Dailymotion Partners from France earn 3000 - 4000 euros per month. Global Partners withdraw the monthly least of $100.
Monetization Requirements and Earning Potential
YouTube’s YPP monetizes accounts with 1,000 subscribers and earns revenue through advertising. You’ll get 55% of the revenue generated by the ads shown during, before, and after your videos. It is also possible to charge channel memberships. For every 1,000 views, the average YouTuber makes about $18.
The Dailymotion Partner Program monetizes your videos. The least number of views you need to monetize your content is 1,000 (combined). One hour of watch time on the platform generates $57 in income, making it a great way to make money!
Choosing Between YouTube and Dailymotion Channel Monetization

Now that you’ve seen a YouTube vs. Dailymotion comparison, you are leaning toward one. Let’s dive into some key questions if you’re still not sure ( you can use both platforms ):
- Do you have a specific group in mind? It’s important to think about who your audience is.
- Are Your Videos Targeted? Do your videos match specific search queries?
- Video Length and Size: How long and big are your videos?
- Monetization: Want to make money? Consider your subscriber count.
- Privacy Control: How much control do you need over your content’s privacy?
- Analytics: Do you want detailed data on your video performance?
YouTube is your best bet if you want organic search traffic, a wide audience, and hefty videos. If you want privacy control, or if you want to monetize, Dailymotion shines.
Whatever you pick, remember to add captions to your videos. Transcription tools can help with that, making your content more accessible and engaging.
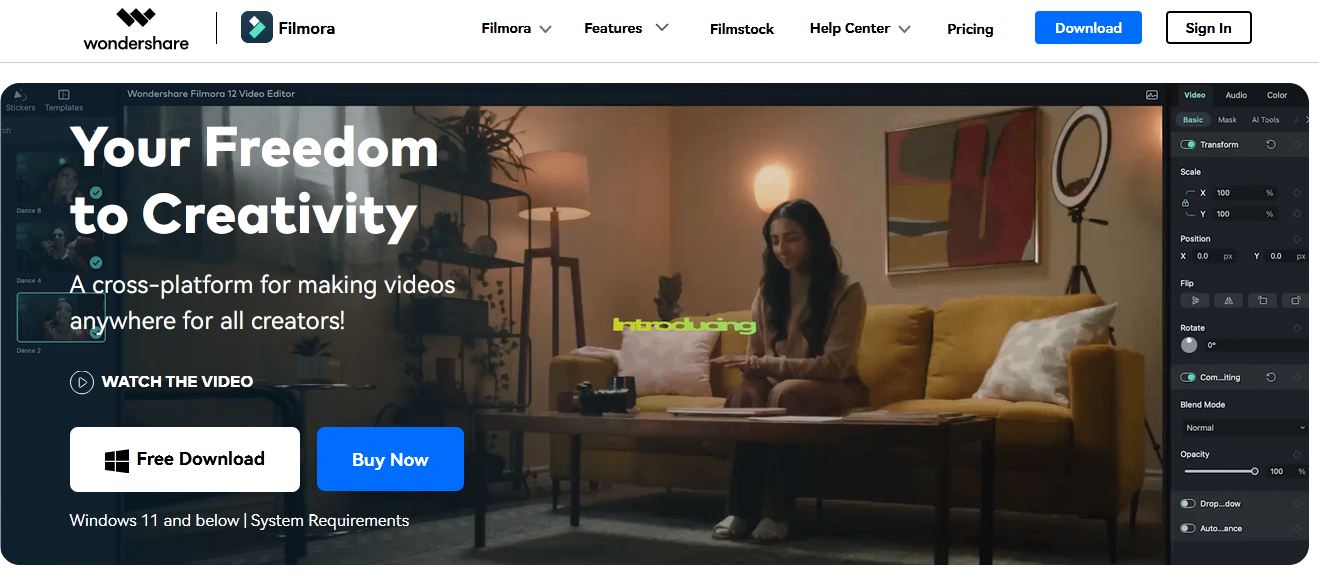
Part 3. Enhance Your Monetization Journey with Wondershare Filmora: A Video Editing Solution
Let’s take a look at a powerful tool to enhance your gaming experience. It’s Wondershare Filmora. Creating engaging and valuable videos is easy with Wondershare Filmora. An attractive user interface, a media library, and many useful features make it a great choice. A video tool that turns content creators’ vision into professional content. Filmora is perfect for YouTubers, filmmakers, and vloggers of all skill levels.
Free Download For Win 7 or later(64-bit)
Free Download For macOS 10.14 or later
Filmora Features for Monetization Magic
1.Creative Templates
Filmora’s video templates make it easy to create nice videos. With these templates, you can easily make a captivating intro or an engaging end screen. You make more money when you keep your audience interested.

2. Advanced Audio Editing
To create engaging content, you must have great audio. With Filmora’s audio tools, you can stretch, denoise, and duck audio to improve your videos. Having engaged viewers means you’re more likely to generate income from ads and sales.

3. Enhancing Your Videos with Video Effects
Using Wondershare Filmora, you can transform your ordinary videos into something extraordinary. There are a variety of effects available, such as overlays, filters, and transitions. Filters allow you to change your videos’ feel and appearance. With overlays, like glitch overlays, you can enhance your videos.

4. Color Correction
Wondershare Filmora’s color correction tool can make your videos much better. You can change the colors and mood of your videos with Filmora’s color options. To make your videos look more professional, you can adjust their brightness or darkness. Using vibrant colors can help you earn more and draw in more customers.
Conclusion
When it comes to making money from your passion, picking the right platform is crucial. This guide has shown the main differences between YouTube and Dailymotion monetization. With Wondershare Filmora, you can make the most money from both places.
YouTube is great for long videos, a big audience, and finding people naturally. Monetization Dailymotion is good for making money without needing as many subscribers.
If you put captions on your videos, more people will watch. Think of Filmora as a friend who helps you make money with fun, good videos. It’s like having a partner in making money from your videos.
Free Download Free Download Learn More
Part 1. Exploring YouTube and Dailymotion: Platforms for Creators
YouTube : What is it?
A three-person team, Chad Hurley, Steve Chen, and Jawed Karim, founded YouTube in 2005. Their goal is to create YouTube as a global platform for sharing videos. A huge $1.65 billion was paid by Google for buying YouTube. YouTube then became a more popular website with over two billion users every month.
Lots of creators, like makeup artists and gamers, make money on YouTube. With the platform, you can livestream, make money from your videos, and watch tons of user-made videos.
Dailymotion : What is it?
A French entrepreneur and an English entrepreneur founded Dailymotion in 2005. Dailymotion became one of the most popular video platforms in France and then Europe in just 1 year. You can upload and share videos on Dailymotion like on YouTube. There is a slight difference in their focus. Dailymotion’s content tends to be professional, while YouTube’s is user-made.
Dailymotion has over 300 million users every month. It’s accessible in 35 different languages. Also, for pro content, it offers features like “Motionmaker” to users and live streaming to creators.
The popularity and user base of YouTube and Dailymotion
YouTube’s user interface is very easy and simple to use. You can filter the results with date and popularity at the top bar of the website. You can watch YouTube without ads and gain access to YouTube analytics.
It’s cool to create your own channel on YouTube. It allows you to upload videos, customize your banner, and create a community.
It is easy to stream videos or share them with friends by creating playlists. YouTube and Dailymotion both have easy-to-use interfaces. You can customize your own channel, and it has categories and channels. YouTube has advanced playlist features, but Dailymotion does not.
It’s not all fun and games - YouTube has fewer ads than Dailymotion. A premium subscription to Dailymotion removes the ads and gives you access to other features.
Both Platforms have Different Content and Audiences
YouTube Content and Audience
Video content on YouTube ranges from cooking tips to music videos. It even offers live streaming concerts and mind-blowing documentaries. Gamer, beauty, sports, and learning enthusiasts will enjoy this channel.
YouTube allows you to upload 12-hour-long videos to increase your watch time. You can also share all types of experiences in the long video. Every day, 2.51 billion active users watch over one billion hours of content. Creators can showcase their work in high definition, up to 8K, on the platform, which is a major advantage. Mobile devices and smartphones also allow offline viewing of videos.
Dailymotion Content and Audience
There’s something special about Dailymotion. The site provides YouTube videos, animated shorts, music, documentaries, and TV shows. Although Dailymotion has upload limits, its videos are still of high quality, up to 1080p. There is a vibrant community of creators looking to connect with their audiences as well. There were 545.3 million visits to Dailymotion in April 2023, making it a strong competitor. Depending on your taste and the content you’re looking for, you can choose either.
Part 2. YouTube vs. Dailymotion Monetization: Unraveling the Key Differences
YouTube and Dailymotion monetization features and opportunities
It’s crucial for content creators to know which monetization options each platform offers. Let’s have a look at the monetization options available on YouTube and Dailymotion. It is possible to earn money from your content on both Dailymotion and YouTube. Dailymotion is easier to monetize, despite its broader and more sophisticated offering.
Programs and options for monetizing YouTube
There are many ways for YouTube creators to make money from their content. You can display video ads for sponsorships, AdSense payments, and merchandise sales. YouTube offers more monetization options and is more advanced than Dailymotion. The YouTube monetization rules can be tricky to meet for eligible accounts.
Programs and options for monetizaton Dailymotion
Creators can also monetize their content on Dailymotion. Dailymotion has fewer monetization options than YouTube. Unlike YouTube, Dailymotion allows creators to earn money through ads.
The Dailymotion Partner Program has made several French video creators extremely wealthy. The CPM is always low for video creators around the world, for whatever reason. Dailymotion Partners from France earn 3000 - 4000 euros per month. Global Partners withdraw the monthly least of $100.
Monetization Requirements and Earning Potential
YouTube’s YPP monetizes accounts with 1,000 subscribers and earns revenue through advertising. You’ll get 55% of the revenue generated by the ads shown during, before, and after your videos. It is also possible to charge channel memberships. For every 1,000 views, the average YouTuber makes about $18.
The Dailymotion Partner Program monetizes your videos. The least number of views you need to monetize your content is 1,000 (combined). One hour of watch time on the platform generates $57 in income, making it a great way to make money!
Choosing Between YouTube and Dailymotion Channel Monetization
Now that you’ve seen a YouTube vs. Dailymotion comparison, you are leaning toward one. Let’s dive into some key questions if you’re still not sure ( you can use both platforms ):
- Do you have a specific group in mind? It’s important to think about who your audience is.
- Are Your Videos Targeted? Do your videos match specific search queries?
- Video Length and Size: How long and big are your videos?
- Monetization: Want to make money? Consider your subscriber count.
- Privacy Control: How much control do you need over your content’s privacy?
- Analytics: Do you want detailed data on your video performance?
YouTube is your best bet if you want organic search traffic, a wide audience, and hefty videos. If you want privacy control, or if you want to monetize, Dailymotion shines.
Whatever you pick, remember to add captions to your videos. Transcription tools can help with that, making your content more accessible and engaging.
Part 3. Enhance Your Monetization Journey with Wondershare Filmora: A Video Editing Solution
Let’s take a look at a powerful tool to enhance your gaming experience. It’s Wondershare Filmora. Creating engaging and valuable videos is easy with Wondershare Filmora. An attractive user interface, a media library, and many useful features make it a great choice. A video tool that turns content creators’ vision into professional content. Filmora is perfect for YouTubers, filmmakers, and vloggers of all skill levels.
Free Download For Win 7 or later(64-bit)
Free Download For macOS 10.14 or later
Filmora Features for Monetization Magic
1.Creative Templates
Filmora’s video templates make it easy to create nice videos. With these templates, you can easily make a captivating intro or an engaging end screen. You make more money when you keep your audience interested.
2. Advanced Audio Editing
To create engaging content, you must have great audio. With Filmora’s audio tools, you can stretch, denoise, and duck audio to improve your videos. Having engaged viewers means you’re more likely to generate income from ads and sales.
3. Enhancing Your Videos with Video Effects
Using Wondershare Filmora, you can transform your ordinary videos into something extraordinary. There are a variety of effects available, such as overlays, filters, and transitions. Filters allow you to change your videos’ feel and appearance. With overlays, like glitch overlays, you can enhance your videos.
4. Color Correction
Wondershare Filmora’s color correction tool can make your videos much better. You can change the colors and mood of your videos with Filmora’s color options. To make your videos look more professional, you can adjust their brightness or darkness. Using vibrant colors can help you earn more and draw in more customers.
Conclusion
When it comes to making money from your passion, picking the right platform is crucial. This guide has shown the main differences between YouTube and Dailymotion monetization. With Wondershare Filmora, you can make the most money from both places.
YouTube is great for long videos, a big audience, and finding people naturally. Monetization Dailymotion is good for making money without needing as many subscribers.
If you put captions on your videos, more people will watch. Think of Filmora as a friend who helps you make money with fun, good videos. It’s like having a partner in making money from your videos.
The Reaction Guru’s Playbook: Crafting Unforgettable Videos in Under 5 Minutes Each
How to Make a YouTube Reaction Video?

Richard Bennett
Mar 27, 2024• Proven solutions
Sharing ideas and opinions on virtually any topic you can think of with millions of people around the world is arguably one of the greatest benefits YouTube gives to content creators. Even so, building your channel exclusively around reaction videos may prove to be difficult, but this doesn’t mean that you can’t use this type of video to comment on what other YouTubers are saying.
The process of making a YouTube reaction video is not overly technical, although you will have to decide which video editing technique you are going to use to make a reaction video. That is why in this article we are going to take a look at different ways to make a YouTube reaction video.
- Method 1: Making Reaction Videos with PIP feature in Filmora
- Method 2: Create YouTube Reaction Video with Split Screen Templates
- Method 3: Make A Reaction Video for YouTube with AI Portrait
How to Make a Reaction Video for Your YouTube Channel? [3 Ways]
Using the footage without the consent of the copyright owner is punishable by the law, which means that you can only include the footage in a reaction video if you have the owner’s consent. Consequently, the selection of videos you can comment on is going to be limited, since it is entirely up to the creator of the video if they are going to give you permission to use their footage in your reaction video.
You can use the following video editing techniques, once you have access to the video you would like to comment on.
Method 1: Making a reaction video with the Picture-in-Picture feature in Filmora
Video editing software, like Filmora , can also be used to create YouTube reaction videos, but you must have all the footage you would like to include in that video before you can start putting it together.
The first step is to create a new project in Filmora and then import the media assets into the editor. Besides video clips, you can also add music, pictures, or create opening titles and end credits for your reaction video.


Place the video you’re reacting to on a video track on the timeline and then add the video of your reaction to the timeline that is directly above the one to which you added the first video clip. Click on the top video in the preview window and use the handles that are positioned around the edges of the video to adjust its size.
If you would like to change the on-screen position of the overlay clip, you should simply click on it and drag it to the new location within the preview window.

Filmora offers more than sixty motion effects, hundreds of transitions, and visual effects that can make your reaction video more visually appealing to the audience.

Moreover, Filmora video editing software offers a variety of blending modes, and it lets you control the opacity of the overlay video so that you can make it more transparent. Whether or not you are going to use these options depends on the footage you’re working with and the demands of a particular project.
Pros of using the Picture in Picture feature to make reaction videos in Filmora: You can place and adjust the videos with more customizable options. Get more tips about Making a PIP video in Filmora .
Method 2: Create several reaction windows with the Split Screen feature
Besides the Picture-in-Picture option, Filmora also enables you to play two or more videos simultaneously with Split Screen templates. Drag and drop the template you want to use in your reaction video to the timeline and click on the Enable Split Screen Animation tick box if you want to use the template without animations.

Afterward, you should drag the video clips from the Media tab and drop them onto the section of the preview window where you want them to be located. Keep in mind that you cannot add more than six videos to a split-screen template.

All videos you add to a split-screen template can be edited, and you just have to click on them if you want to adjust their sizes, enhance colors, mute their audio tracks or add a new audio file to the template.
Check the details about How to make a split-screen video step by step.
Pros of using Split-screen template to make reaction video in Filmora: various templates for creating stylish video side by side easily.
Method 3: Create A YouTube Reaction Video with AI Portrait
With the human segmentation effect in AI Portrait, you can now blend the reaction video in a more natural way. The human segmentation effect will isolate people from the background, you can use any background in the video.
Note: You can use this feature after version after V 10.5 for Windows, and V 10.4 for Mac. Click the button below to get the latest version of Filmora on your desktop.
Step 1: Import the videos to the media library, and then drag the background video to the first video track, and the reaction video to the track above.

Step 2: Go to the Effects tab at the top, and click the AI Portrait category, and then you will see many effects such as Human Segmentation, Human Pixelate, Human Noise, and lighting flash. Here, drag and drop the Human segmentation effect to the reaction video.

Step 3: Select the reaction video in the timeline, and then adjust its size and position by dragging it on the preview window. See, the reaction video is fine blended with the background video.

Step 4: That’s the basic editing of making a reaction video. You can also add the neon or flashing effect to the video. If everything goes well, click Export and save the video.

You can find out more details about using the AI Portrait effect to make a reaction video .
How to Avoid Copyright Infringements While Making a YouTube Reaction Video
All videos you can find on YouTube are protected by intellectual property regulations, and you can’t use them without the copyright owner’s permission. The only way to avoid being absolutely sure that your reaction video isn’t violating the law is to contact the video creator and ask for permission to use their intellectual property. However, most YouTubers are reluctant to let others download and edit their videos unless they already have a large fan base.
In case you’re granted permission to comment on a video, you have nothing to worry about. However, if you don’t get the permission you’re all the money the reaction video generates will go to the copyright owner or you will be forced to delete the video from your channel. There are still a few things you can do, even if you don’t get permission to use the video you would like to comment on.
Muting the video’s audio or altering its pitch will make it more difficult for YouTube’s bots to detect copyright infringement, although this method may not always work. In addition, you can play a video for up to thirty seconds, then comment on that segment, and then play another segment of that video.
There is no way of saying whether any of these editing tricks are going to help you avoid a copyright claim, and you should only use them if you have no other option.
Conclusion
Anyone can master the technical aspects of making a reaction video, but the topics you react to need to be related to the general topic your channel covers. What’s more, the idea of your reaction video has to be relevant for your audience if you want to attract their attention. Which video editing techniques are you using to make a YouTube reaction video?
Download Mac Version ](https://tools.techidaily.com/wondershare/filmora/download/ )
Richard Bennett
Richard Bennett is a writer and a lover of all things video.
Follow @Richard Bennett
Richard Bennett
Mar 27, 2024• Proven solutions
Sharing ideas and opinions on virtually any topic you can think of with millions of people around the world is arguably one of the greatest benefits YouTube gives to content creators. Even so, building your channel exclusively around reaction videos may prove to be difficult, but this doesn’t mean that you can’t use this type of video to comment on what other YouTubers are saying.
The process of making a YouTube reaction video is not overly technical, although you will have to decide which video editing technique you are going to use to make a reaction video. That is why in this article we are going to take a look at different ways to make a YouTube reaction video.
- Method 1: Making Reaction Videos with PIP feature in Filmora
- Method 2: Create YouTube Reaction Video with Split Screen Templates
- Method 3: Make A Reaction Video for YouTube with AI Portrait
How to Make a Reaction Video for Your YouTube Channel? [3 Ways]
Using the footage without the consent of the copyright owner is punishable by the law, which means that you can only include the footage in a reaction video if you have the owner’s consent. Consequently, the selection of videos you can comment on is going to be limited, since it is entirely up to the creator of the video if they are going to give you permission to use their footage in your reaction video.
You can use the following video editing techniques, once you have access to the video you would like to comment on.
Method 1: Making a reaction video with the Picture-in-Picture feature in Filmora
Video editing software, like Filmora , can also be used to create YouTube reaction videos, but you must have all the footage you would like to include in that video before you can start putting it together.
The first step is to create a new project in Filmora and then import the media assets into the editor. Besides video clips, you can also add music, pictures, or create opening titles and end credits for your reaction video.
Place the video you’re reacting to on a video track on the timeline and then add the video of your reaction to the timeline that is directly above the one to which you added the first video clip. Click on the top video in the preview window and use the handles that are positioned around the edges of the video to adjust its size.
If you would like to change the on-screen position of the overlay clip, you should simply click on it and drag it to the new location within the preview window.
Filmora offers more than sixty motion effects, hundreds of transitions, and visual effects that can make your reaction video more visually appealing to the audience.
Moreover, Filmora video editing software offers a variety of blending modes, and it lets you control the opacity of the overlay video so that you can make it more transparent. Whether or not you are going to use these options depends on the footage you’re working with and the demands of a particular project.
Pros of using the Picture in Picture feature to make reaction videos in Filmora: You can place and adjust the videos with more customizable options. Get more tips about Making a PIP video in Filmora .
Method 2: Create several reaction windows with the Split Screen feature
Besides the Picture-in-Picture option, Filmora also enables you to play two or more videos simultaneously with Split Screen templates. Drag and drop the template you want to use in your reaction video to the timeline and click on the Enable Split Screen Animation tick box if you want to use the template without animations.
Afterward, you should drag the video clips from the Media tab and drop them onto the section of the preview window where you want them to be located. Keep in mind that you cannot add more than six videos to a split-screen template.
All videos you add to a split-screen template can be edited, and you just have to click on them if you want to adjust their sizes, enhance colors, mute their audio tracks or add a new audio file to the template.
Check the details about How to make a split-screen video step by step.
Pros of using Split-screen template to make reaction video in Filmora: various templates for creating stylish video side by side easily.
Method 3: Create A YouTube Reaction Video with AI Portrait
With the human segmentation effect in AI Portrait, you can now blend the reaction video in a more natural way. The human segmentation effect will isolate people from the background, you can use any background in the video.
Note: You can use this feature after version after V 10.5 for Windows, and V 10.4 for Mac. Click the button below to get the latest version of Filmora on your desktop.
Step 1: Import the videos to the media library, and then drag the background video to the first video track, and the reaction video to the track above.
Step 2: Go to the Effects tab at the top, and click the AI Portrait category, and then you will see many effects such as Human Segmentation, Human Pixelate, Human Noise, and lighting flash. Here, drag and drop the Human segmentation effect to the reaction video.
Step 3: Select the reaction video in the timeline, and then adjust its size and position by dragging it on the preview window. See, the reaction video is fine blended with the background video.
Step 4: That’s the basic editing of making a reaction video. You can also add the neon or flashing effect to the video. If everything goes well, click Export and save the video.
You can find out more details about using the AI Portrait effect to make a reaction video .
How to Avoid Copyright Infringements While Making a YouTube Reaction Video
All videos you can find on YouTube are protected by intellectual property regulations, and you can’t use them without the copyright owner’s permission. The only way to avoid being absolutely sure that your reaction video isn’t violating the law is to contact the video creator and ask for permission to use their intellectual property. However, most YouTubers are reluctant to let others download and edit their videos unless they already have a large fan base.
In case you’re granted permission to comment on a video, you have nothing to worry about. However, if you don’t get the permission you’re all the money the reaction video generates will go to the copyright owner or you will be forced to delete the video from your channel. There are still a few things you can do, even if you don’t get permission to use the video you would like to comment on.
Muting the video’s audio or altering its pitch will make it more difficult for YouTube’s bots to detect copyright infringement, although this method may not always work. In addition, you can play a video for up to thirty seconds, then comment on that segment, and then play another segment of that video.
There is no way of saying whether any of these editing tricks are going to help you avoid a copyright claim, and you should only use them if you have no other option.
Conclusion
Anyone can master the technical aspects of making a reaction video, but the topics you react to need to be related to the general topic your channel covers. What’s more, the idea of your reaction video has to be relevant for your audience if you want to attract their attention. Which video editing techniques are you using to make a YouTube reaction video?
Download Mac Version ](https://tools.techidaily.com/wondershare/filmora/download/ )
Richard Bennett
Richard Bennett is a writer and a lover of all things video.
Follow @Richard Bennett
Also read:
- Learn the Role YouTube Shorts Music Plays
- Your Quick Guide to Securing a Youtube Revenue Stream
- [Updated] 2024 YouTube Business Boost Enrolling in the Partner Program Now
- In 2024, 4 Creative Ways to Insert YouTube Content in Presentations
- [Updated] Enhancing Engagement How to Utilize YouTube's Prominent Channels
- In 2024, Effective Approach to Swiftly Eliminate Video Comments
- Mr. Beast’s Financial Landscape
- Efficient Ways to Delete Previewed Content From YouTube's Queue for 2024
- Beginner's Blueprint for Online Content Simple, Straightforward Video Projects for 2024
- [Updated] Concise Content The Best URL Cutter Tools for Youtubers
- [New] Crafting Exceptional FreeFire Content on YouTube Platforms
- Eliminated Invisible YouTube Micro Videos for 2024
- [New] 10 Expert Suggestions to Make Your YT Shorts Stand Out
- DIY Guide to Turning YouTube Screen Time Into a FREE Screencast
- YouTube TV for Everyone No Expertise Required
- Mastering Clear Sound Recording Without Mic Techniques
- ASMR Viewers' Essentials Explained
- Average Earnings Per View What's the Income for YouTubers per Ad Playback, In 2024
- Harness YouTube’s Potential with These #Top 5 Video Marketing Techniques
- [Updated] Effortless Guide to Designing YouTube Follow Links
- [New] Essential Video Stock Investment Guides
- 2024 Approved Endless Viewing Loop Your iPhone Videos Today
- Snappy Sharing Uploading and Publishing Short Videos Online
- [Updated] Elevate Your Mobile Surfing with These Top 7 Blockers
- [New] Enchanting the Screen with Edit Mastery
- [Updated] Confirming YouTube Ad Revenue Accrual
- [New] Discover Keyword Power 30 Must-Use Hashtags for FreeGame Content
- [New] Cut Buffering Time – Turn On AV1 in YouTube Settings
- Play Store Not Working On Motorola Moto G84 5G? 8 Solutions Inside | Dr.fone
- In 2024, 3 Solutions to Find Your Realme GT Neo 5 Current Location of a Mobile Number | Dr.fone
- [New] 2024 Approved Pro Screen Reader Best Video Grabbing Picks
- New Audio Mastery How to Download YouTube Videos with Ease for 2024
- Advanced Audio Editing in Adobe Premiere Pro Effortless Track Mixing Methods for 2024
- Best 10 Mock Location Apps Worth Trying On Google Pixel 7a | Dr.fone
- [New] Resonance Realm The Mac Studio Guide
- Enhancing Presentations Incorporating Snap Features on Meet
- How to Change/Fake Your Vivo X90S Location on Viber | Dr.fone
- In 2024, Top 10 Fingerprint Lock Apps to Lock Your Motorola Moto G04 Phone
- Repeated Text Animation Tutorial in Filmora
- [New] Essential Tips for Digital Boards in Zoom Desktops & Mobile
- [New] Perfecting Video Conferencing with Snap Functionality for 2024
- How to Change/Add Location Filters on Snapchat For your Tecno Spark 10 5G | Dr.fone
- New The Ultimate Guide to Movie Trailer Apps for iPhone and iPad Users
- How to Recover Lost Data from iPhone 12 After iOS Update? | Stellar
- What is the best Pokemon for pokemon pvp ranking On Vivo V30 Pro? | Dr.fone
- 2024 Approved The Art of Retracing Instagram Pictures' Roots
- How to Change GPS Location on Oppo Reno 9A Easily & Safely | Dr.fone
- [Updated] 2024 Approved Top Fareless Webcam Viewer with Recording
- [Updated] In 2024, Expert Guide to Initiate Video Calls Using WhatsApp Web for Laptops
- Best 3 Infinix Note 30i Emulator for Mac to Run Your Wanted Android Apps | Dr.fone
- [Updated] Unseen FB Video Tactics Unlock All Sharing Options
- Updated Motion Tracking Is the Process of Tracking the Movements of a Project in a Video. This Article Will Show You How to Apply Motion Tracking Effect Into Videos
- In 2024, How to Spy on Text Messages from Computer & Samsung Galaxy A23 5G | Dr.fone
- New The Inside Scoop How to Choose the Best OGG Converter for You
- Title: "In 2024, Comparing Profit Potential DailyMovement and Youtube's Earnings"
- Author: Brian
- Created at : 2024-05-25 12:06:37
- Updated at : 2024-05-26 12:06:37
- Link: https://youtube-video-recordings.techidaily.com/in-2024-comparing-profit-potential-dailymovement-and-youtubes-earnings/
- License: This work is licensed under CC BY-NC-SA 4.0.
