
DIY Photography Support Systems
DIY Photography Support Systems
DIY Tripods| How to Stabilize Your Camera without Buying a Tripod

Richard Bennett
Oct 26, 2023• Proven solutions
When you’re trying to grow a channel on YouTube it can feel like equipment is a barrier, but it shouldn’t be. If you can’t afford a high-end tripod, for example, there are loads of ways to get by without one.
DIY Your Video with Wondershare Filmora
Wondershare Filmora has the best video stabilization tool is your videos have a bad frame or were recorded in dim lights. If a video is shot in bad weather or unfriendly situation where you don’t have all the equipment required for a quality recording, Wondershare Filmora can help you in the background to edit your videos like a pro. And it has all the relevant tools like effects, transitions, background removal, overlays, and background music that could turn your normal video to a professional one.


Here are 3 of our favorite DIY tripods.
DIY smartphone tripod using binder clips or hair clips
You’re a solo operation and your best camera is on your phone. That’s pretty common.
If you have a DSLR then you can set it down on any stable surface while filming yourself, but your phone can’t stand up by itself. It needs something or someone to hold it. Do you just accept that and shoot everything as a selfie?
No. No, you don’t, because there are common household items that can help you out of this problem. For this DIY tripod, you need either 2 binder clips or 2 ‘claw clips’ (also called ‘hair jaws’).
Hold your phone in landscape mode (horizontally, so it’s long rather than tall) and attach clips to the bottom corners. If you are worried about scratching your screen, fold up some paper to place between your clip and your phone.
Here it is with binder clips:

And here it is with hair clips:

Now you can set your smartphone upon any stable surface, like a table or a stack of books.
Here are some more cool ideas!
DIY adjustable tripod using books and a towel
You’ve probably heard a million times that you can stabilize your camera by sitting it down on any stable surface – on your desk, on a stack of books, up in a tree, etc. This is very true!
But if you can use any stable surface, why do people buy tripods?
Because it isn’t convenient to rearrange your furniture whenever you want to make a video, and also because tripods are adjustable. You can change their height, you can use them to pan or tilt, and it’s pretty easy to move them a bit forwards or backward while you’re setting up your shot.
To get similar functions from the ‘any stable surface’ solution you can use a table, a stack of books, and a towel.
- Set up the area where you’re going to sit while you’re filming on one end of the table.
- Put the towel down over the approximate spot you want your camera to be.
- Stack your books on top of the towel.
- Put your camera on top of the books.
Now if your camera isn’t up high enough, or is too high, you can adjust it just by adding or taking away books. If you want to move it closer or farther away from you, just pull the towel forwards or backward.
DIY gripping ‘Gorillapod’ using wire and tape
Gorillapod’s are cool because you can use them like normal tripods, carry them around like selfie sticks, or attach them to things like fences and posts. Here’s how you can make something similar using wire, electrical tape or duct tape, and a 1/4 bolt.
Your wire should be fairly stiff and you’ll need three pieces the same length, which should be at least 10 inches. Old clothes hangers work well. This needs to be something strong enough to support the weight of your camera, but soft enough that it’s not impossible for you to bend.

All of your supplies plus the finished product.
Readying your legs
Step 1: Bend 2 inches at one end of each wire into a ‘U’ shape. You will probably need pliers for this.
Step 2: Pick up one of your pieces of wire and wrap one end with electrical tape. Go around 5-10 times (to prevent it from coming undone at the end) and then, without cutting your tape, start moving up and wrapping the rest of your wire. Stop before your ‘U’ section.
Repeat this with the other two wires.
Attaching your legs
Step 1: Place the ‘U’ section of a leg against your bolt. The bolt’s threading should be pointing away from the leg. Now, use your tape to attach them. Wind it around 2 or 3 times, then repeat the process with both of the other legs individually.
Step 2: After all the legs are attached, wrap some more tape around all 3 as tightly as you can.
Your camera will mount onto the bolt! You’ll be able to use this as a normal table-top tripod or use the flexible legs to grab onto different things like a Gorillapod. Read more at Instructables.
Note: make sure the bolt is a fit for your camera before you get too far into this process.
Richard Bennett
Richard Bennett is a writer and a lover of all things video.
Follow @Richard Bennett
Richard Bennett
Oct 26, 2023• Proven solutions
When you’re trying to grow a channel on YouTube it can feel like equipment is a barrier, but it shouldn’t be. If you can’t afford a high-end tripod, for example, there are loads of ways to get by without one.
DIY Your Video with Wondershare Filmora
Wondershare Filmora has the best video stabilization tool is your videos have a bad frame or were recorded in dim lights. If a video is shot in bad weather or unfriendly situation where you don’t have all the equipment required for a quality recording, Wondershare Filmora can help you in the background to edit your videos like a pro. And it has all the relevant tools like effects, transitions, background removal, overlays, and background music that could turn your normal video to a professional one.
Here are 3 of our favorite DIY tripods.
DIY smartphone tripod using binder clips or hair clips
You’re a solo operation and your best camera is on your phone. That’s pretty common.
If you have a DSLR then you can set it down on any stable surface while filming yourself, but your phone can’t stand up by itself. It needs something or someone to hold it. Do you just accept that and shoot everything as a selfie?
No. No, you don’t, because there are common household items that can help you out of this problem. For this DIY tripod, you need either 2 binder clips or 2 ‘claw clips’ (also called ‘hair jaws’).
Hold your phone in landscape mode (horizontally, so it’s long rather than tall) and attach clips to the bottom corners. If you are worried about scratching your screen, fold up some paper to place between your clip and your phone.
Here it is with binder clips:
And here it is with hair clips:
Now you can set your smartphone upon any stable surface, like a table or a stack of books.
Here are some more cool ideas!
DIY adjustable tripod using books and a towel
You’ve probably heard a million times that you can stabilize your camera by sitting it down on any stable surface – on your desk, on a stack of books, up in a tree, etc. This is very true!
But if you can use any stable surface, why do people buy tripods?
Because it isn’t convenient to rearrange your furniture whenever you want to make a video, and also because tripods are adjustable. You can change their height, you can use them to pan or tilt, and it’s pretty easy to move them a bit forwards or backward while you’re setting up your shot.
To get similar functions from the ‘any stable surface’ solution you can use a table, a stack of books, and a towel.
- Set up the area where you’re going to sit while you’re filming on one end of the table.
- Put the towel down over the approximate spot you want your camera to be.
- Stack your books on top of the towel.
- Put your camera on top of the books.
Now if your camera isn’t up high enough, or is too high, you can adjust it just by adding or taking away books. If you want to move it closer or farther away from you, just pull the towel forwards or backward.
DIY gripping ‘Gorillapod’ using wire and tape
Gorillapod’s are cool because you can use them like normal tripods, carry them around like selfie sticks, or attach them to things like fences and posts. Here’s how you can make something similar using wire, electrical tape or duct tape, and a 1/4 bolt.
Your wire should be fairly stiff and you’ll need three pieces the same length, which should be at least 10 inches. Old clothes hangers work well. This needs to be something strong enough to support the weight of your camera, but soft enough that it’s not impossible for you to bend.
All of your supplies plus the finished product.
Readying your legs
Step 1: Bend 2 inches at one end of each wire into a ‘U’ shape. You will probably need pliers for this.
Step 2: Pick up one of your pieces of wire and wrap one end with electrical tape. Go around 5-10 times (to prevent it from coming undone at the end) and then, without cutting your tape, start moving up and wrapping the rest of your wire. Stop before your ‘U’ section.
Repeat this with the other two wires.
Attaching your legs
Step 1: Place the ‘U’ section of a leg against your bolt. The bolt’s threading should be pointing away from the leg. Now, use your tape to attach them. Wind it around 2 or 3 times, then repeat the process with both of the other legs individually.
Step 2: After all the legs are attached, wrap some more tape around all 3 as tightly as you can.
Your camera will mount onto the bolt! You’ll be able to use this as a normal table-top tripod or use the flexible legs to grab onto different things like a Gorillapod. Read more at Instructables.
Note: make sure the bolt is a fit for your camera before you get too far into this process.
Richard Bennett
Richard Bennett is a writer and a lover of all things video.
Follow @Richard Bennett
Content Creator Acclaim Through Subscriber Recognition
YouTube Subscriber Awards! The Play Button Awards for Creators
Richard Bennett
Dec 30, 2022• Proven solutions
YouTube rewards creators for channel growth using “Play Buttons,” YouTube Subscriber Awards that they mail to creators who have reached certain milestones such as 100,000 subscribers. Due to user demand for more recognition of smaller channels, YouTube also introduced reward levels for channels that are still growing. These lower levels don’t come with trophies, but creators who reach them should feel proud.
Here are all of YouTube’s levels, from small to big:
Benefit levels
Awards Level
[4. The Silver Creator Award](#The Silver Creator Award)
[5. The Gold Creator Award](#The Gold Creator Award)
[6. The Diamond Creator Award](#The Diamond Creator Award)
Super High Level
[7. The Custom Creator Award](#The Custom Creator Award)
[8. The Red Diamond Creator Award](#The Red Diamond Creator Award)
Want to learn how to get more subscribers and increase your level?
Benefit levels
YouTube won’t award the YouTubers of these levels with physical plaque but will offer them alternative benefits.
#1: Graphite Level (0-1000 subscribers)
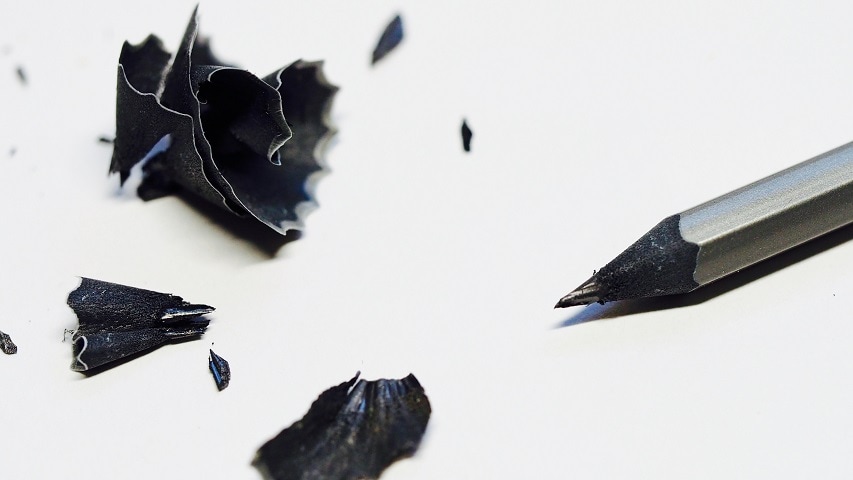
Graphite is the starter level. As soon as you start a YouTube channel, you will already be on this level until you get up to 1K subscribers. During this time, you should focus on learning how YouTube works and perfecting your video production and editing skills. If your YouTube Channel subscriber is over 100, then you will be allowed to custom the URL of your channel. For more information about Custom Channel URL, please read: How to Find and Change Your YouTube Channel URL – Super Easy! >>
#2: Opal Level (1000-10K subscribers)
After you get your first thousand subscribers on your YouTube channel, you will be on the Opal Level. This is one of the three requirements for getting access to the Partner Program for monetization . By this point, you’ll have started to develop your own style and build a personal brand. This is the time to start networking with other YouTubers and trying to find collaboration partners.
#3: Bronze Level (10K-100K subscribers)
Getting ten thousand subscribers is a big deal. By this point, you have enough of a following that they could be called a fanbase, and you can start leveraging your platform to make money through AdSense. Once you pass 10K subscribers, it starts to become easier to find brand deals and sponsorships too. YouTube will offer an additional option of Teespring for the monetized channel at this level.
Awards Level
When a verified YouTube channel reaches a specific milestone and is deemed eligible for a creator award, they are awarded a relatively flat trophy in a metal casing with a YouTube play button symbol.
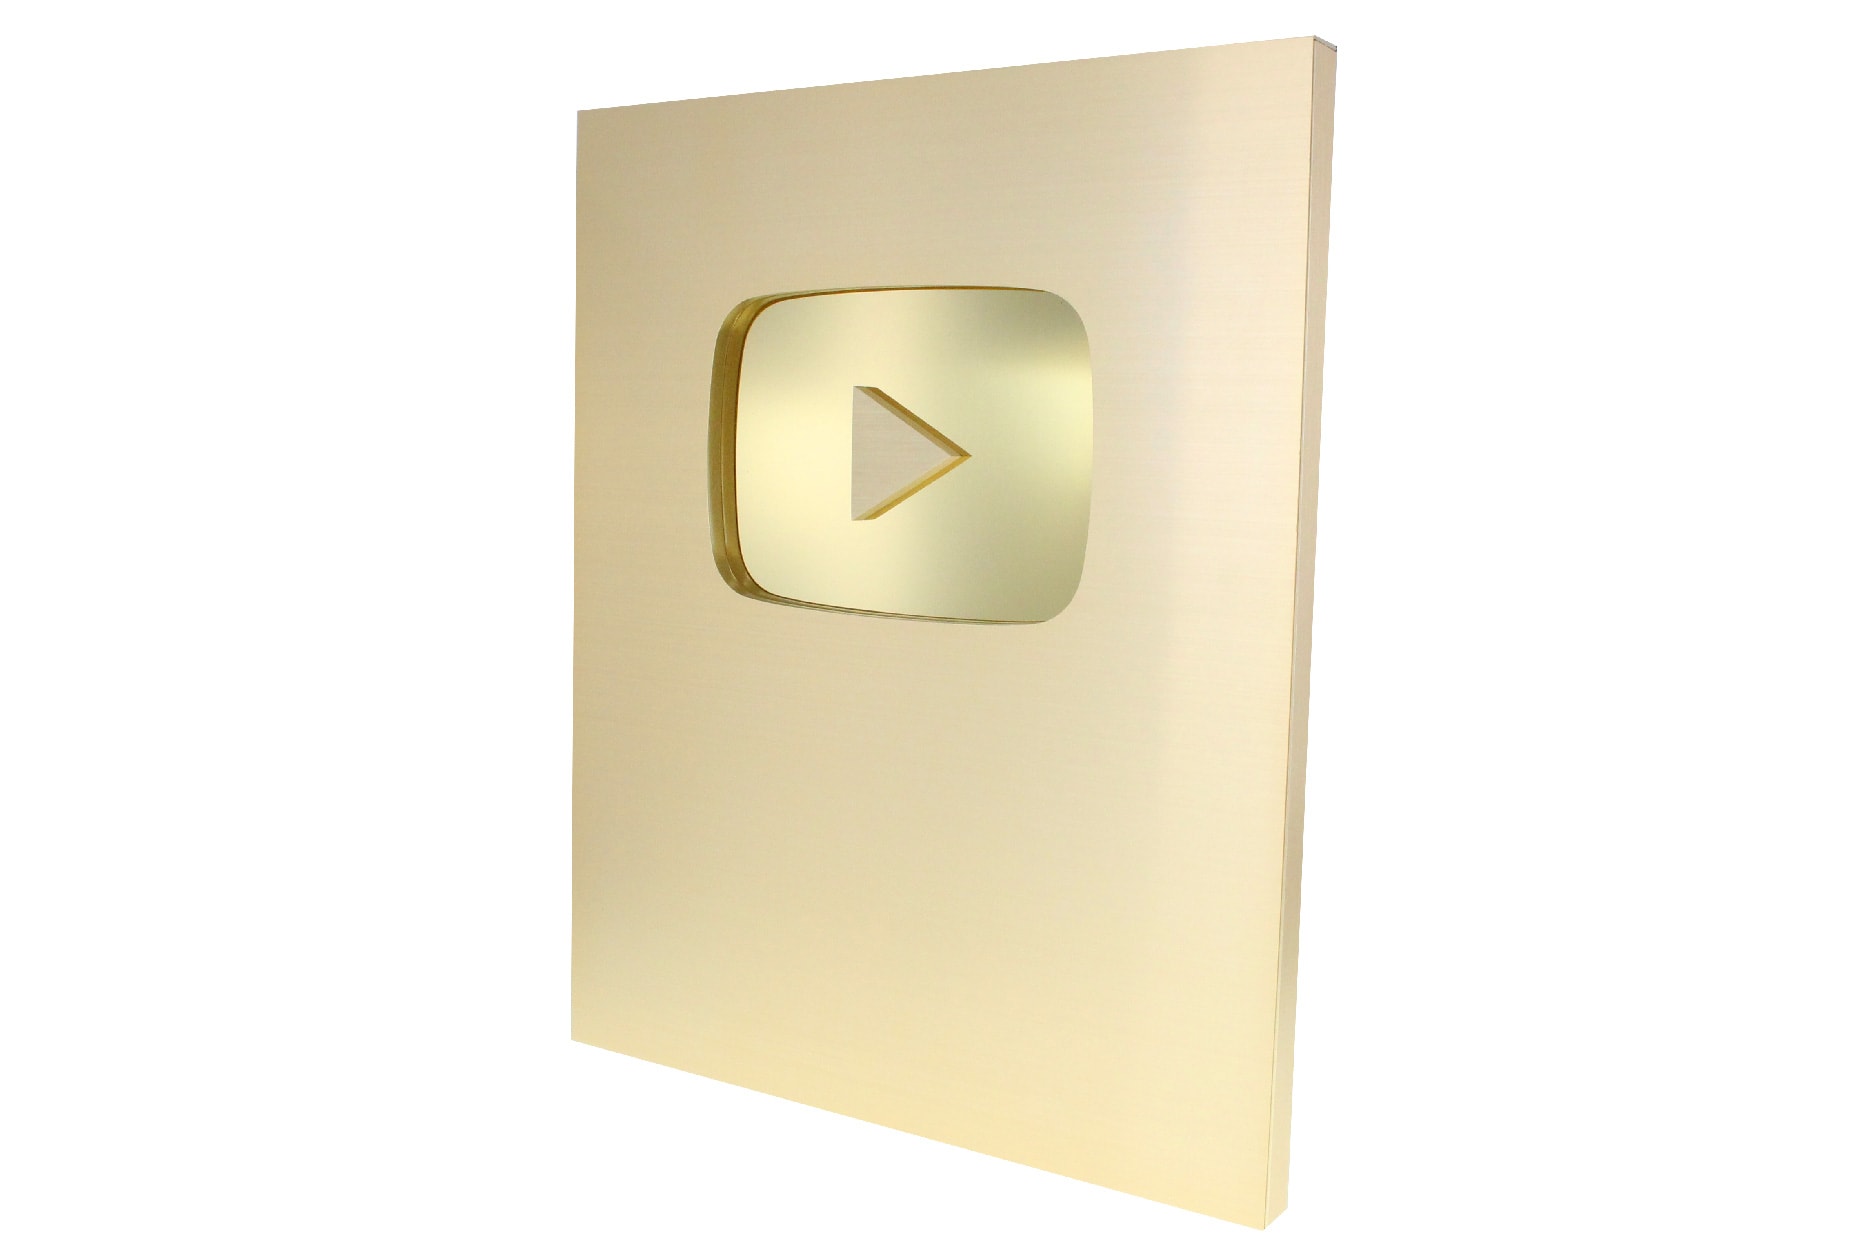
#4: The Silver Creator Award (100K-1 million subscribers)
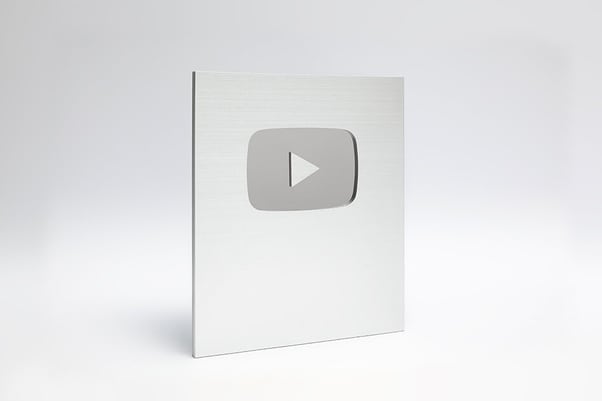
This is the first level that comes with a trophy. YouTubers with a Silver Play Button probably won’t be earning enough money from YouTube to support themselves, but they’re in a good position to start going after more lucrative brand deals. Creators at this level may be earning enough to invest in some better camera gear. Channels at this level are also eligible to apply for a digital verification badge.
#5: The Gold Creator Award (1 million-10 million subscribers)
If people mean graphite when they say ‘lead,’ and alchemists turn lead into gold, then is YouTube really about alchemy?
At this level, you’re making money. When you first reach 1 million, it may still not be enough to live off of, but you’re getting close to being able to make YouTube your job (which you will probably be able to do before leaving the Gold Level). Things like your own makeup line or a book deal are not out of the question at this point.
#6: The Diamond Creator Award (10 million-50 million subscribers)
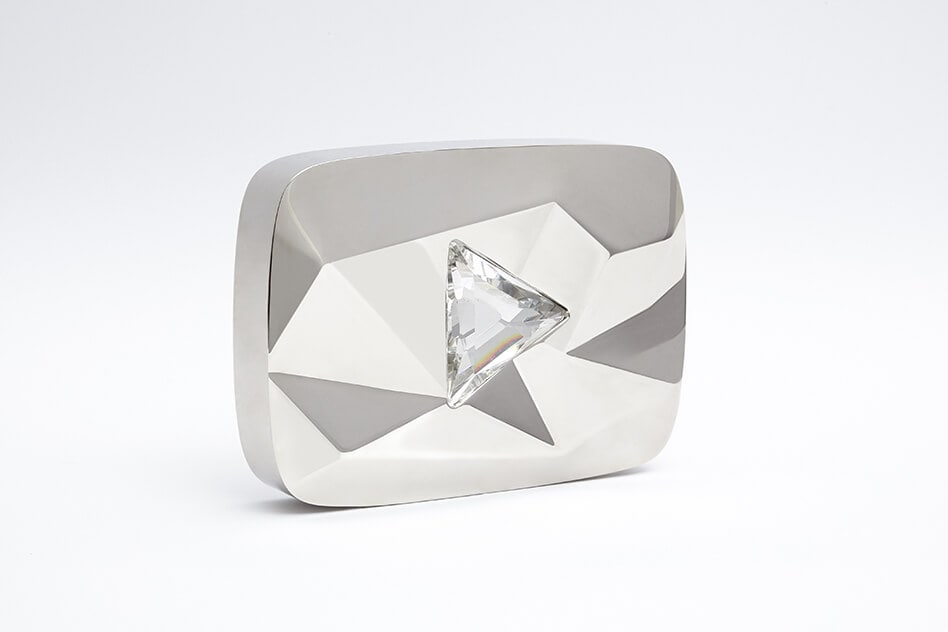
You’re a YouTube star. You’ve made it. You’re making enough money that YouTube/projects spawned from your YouTube channel support you completely, and you’ve probably got a team of helpers. Expect to be going on tours to meet and perform for your fans’ live. Also, if you didn’t have a book deal before, you almost definitely have one now.
Super High Level
The awards in these levels are absent from the Creator Awards page. Only a handful of channels achieved these levels.
#7: The Custom Creator Award (50 million subscribers)
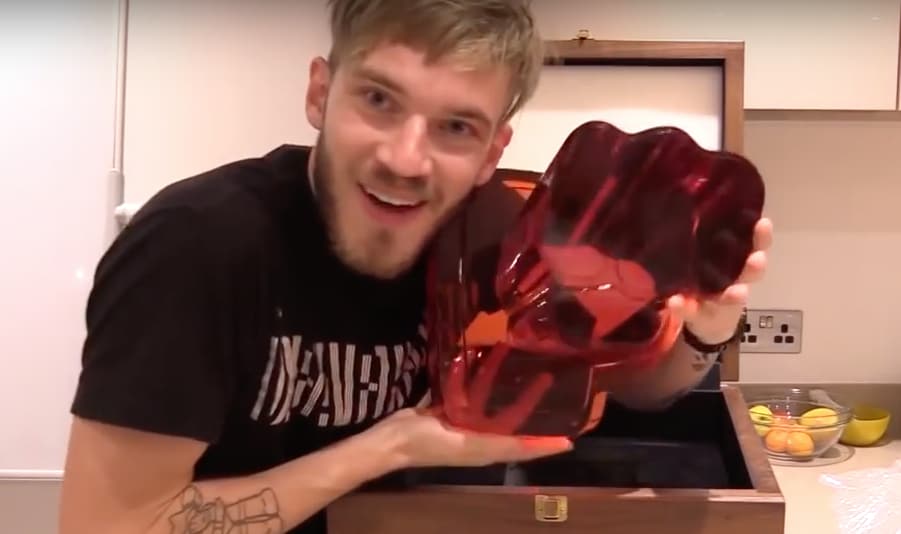
For channels whose subscribers are over 50 million, PewDiePie is the first person to ever receive this reward. It was made by the shape of his channel logo, a fist bump. He nicknamed this custom play button the Ruby Play Button. If you manage to reach this level, you are beyond being a star on YouTube and are now a bonafide pop culture phenomenon.
#8: The Red Diamond Creator Award (100 million subscribers)
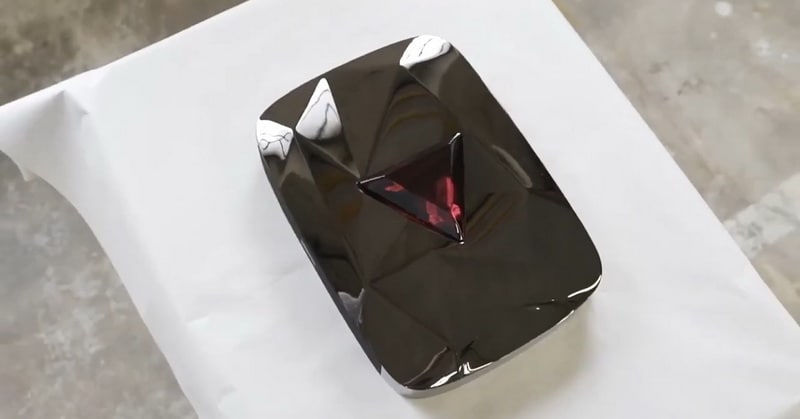
The play button at this level features a play button triangle with a large dark red crystal. If you are able to obtain the award at this level, monetization should never be for you to worry about. One hundred million subscribers mean that 1.3% of the people on this planet are watching you. You’d be a legend if you made it. As of August 2020, only PewDiePie and T-series have obtained this award.
Click here to check out the 5 most subscribed YouTubers.
Welp. Those are the YouTube subscriber awards. What level are you on?
If you want to find a video editing solution that empowers your imagination and creativity yet takes less effort, please try this robust and user-friendly video editing software Wondershare Filmora. It provides special effects, stock photo & video, sound library, etc., which will definitely enhance your productivity and helps to make monetization on YouTube much accessible.
Richard Bennett
Richard Bennett is a writer and a lover of all things video.
Follow @Richard Bennett
Richard Bennett
Dec 30, 2022• Proven solutions
YouTube rewards creators for channel growth using “Play Buttons,” YouTube Subscriber Awards that they mail to creators who have reached certain milestones such as 100,000 subscribers. Due to user demand for more recognition of smaller channels, YouTube also introduced reward levels for channels that are still growing. These lower levels don’t come with trophies, but creators who reach them should feel proud.
Here are all of YouTube’s levels, from small to big:
Benefit levels
Awards Level
[4. The Silver Creator Award](#The Silver Creator Award)
[5. The Gold Creator Award](#The Gold Creator Award)
[6. The Diamond Creator Award](#The Diamond Creator Award)
Super High Level
[7. The Custom Creator Award](#The Custom Creator Award)
[8. The Red Diamond Creator Award](#The Red Diamond Creator Award)
Want to learn how to get more subscribers and increase your level?
Benefit levels
YouTube won’t award the YouTubers of these levels with physical plaque but will offer them alternative benefits.
#1: Graphite Level (0-1000 subscribers)
Graphite is the starter level. As soon as you start a YouTube channel, you will already be on this level until you get up to 1K subscribers. During this time, you should focus on learning how YouTube works and perfecting your video production and editing skills. If your YouTube Channel subscriber is over 100, then you will be allowed to custom the URL of your channel. For more information about Custom Channel URL, please read: How to Find and Change Your YouTube Channel URL – Super Easy! >>
#2: Opal Level (1000-10K subscribers)
After you get your first thousand subscribers on your YouTube channel, you will be on the Opal Level. This is one of the three requirements for getting access to the Partner Program for monetization . By this point, you’ll have started to develop your own style and build a personal brand. This is the time to start networking with other YouTubers and trying to find collaboration partners.
#3: Bronze Level (10K-100K subscribers)
Getting ten thousand subscribers is a big deal. By this point, you have enough of a following that they could be called a fanbase, and you can start leveraging your platform to make money through AdSense. Once you pass 10K subscribers, it starts to become easier to find brand deals and sponsorships too. YouTube will offer an additional option of Teespring for the monetized channel at this level.
Awards Level
When a verified YouTube channel reaches a specific milestone and is deemed eligible for a creator award, they are awarded a relatively flat trophy in a metal casing with a YouTube play button symbol.
#4: The Silver Creator Award (100K-1 million subscribers)
This is the first level that comes with a trophy. YouTubers with a Silver Play Button probably won’t be earning enough money from YouTube to support themselves, but they’re in a good position to start going after more lucrative brand deals. Creators at this level may be earning enough to invest in some better camera gear. Channels at this level are also eligible to apply for a digital verification badge.
#5: The Gold Creator Award (1 million-10 million subscribers)
If people mean graphite when they say ‘lead,’ and alchemists turn lead into gold, then is YouTube really about alchemy?
At this level, you’re making money. When you first reach 1 million, it may still not be enough to live off of, but you’re getting close to being able to make YouTube your job (which you will probably be able to do before leaving the Gold Level). Things like your own makeup line or a book deal are not out of the question at this point.
#6: The Diamond Creator Award (10 million-50 million subscribers)
You’re a YouTube star. You’ve made it. You’re making enough money that YouTube/projects spawned from your YouTube channel support you completely, and you’ve probably got a team of helpers. Expect to be going on tours to meet and perform for your fans’ live. Also, if you didn’t have a book deal before, you almost definitely have one now.
Super High Level
The awards in these levels are absent from the Creator Awards page. Only a handful of channels achieved these levels.
#7: The Custom Creator Award (50 million subscribers)
For channels whose subscribers are over 50 million, PewDiePie is the first person to ever receive this reward. It was made by the shape of his channel logo, a fist bump. He nicknamed this custom play button the Ruby Play Button. If you manage to reach this level, you are beyond being a star on YouTube and are now a bonafide pop culture phenomenon.
#8: The Red Diamond Creator Award (100 million subscribers)
The play button at this level features a play button triangle with a large dark red crystal. If you are able to obtain the award at this level, monetization should never be for you to worry about. One hundred million subscribers mean that 1.3% of the people on this planet are watching you. You’d be a legend if you made it. As of August 2020, only PewDiePie and T-series have obtained this award.
Click here to check out the 5 most subscribed YouTubers.
Welp. Those are the YouTube subscriber awards. What level are you on?
If you want to find a video editing solution that empowers your imagination and creativity yet takes less effort, please try this robust and user-friendly video editing software Wondershare Filmora. It provides special effects, stock photo & video, sound library, etc., which will definitely enhance your productivity and helps to make monetization on YouTube much accessible.
Richard Bennett
Richard Bennett is a writer and a lover of all things video.
Follow @Richard Bennett
Also read:
- [New] 2024 Approved Beyond Ustream A Comparative Analysis of Streams
- [New] 2024 Approved Getting Started with Stylish Mac-Made YouTube Vids
- [New] Audiovisual Powerhouses Select Best Laptops for Editing
- 2024 Approved The Ultimate Guide for Broadcasting GoPro Videos to Periscope & Facebook
- Gratuitamente Mude Seus Filmes Em OGM Para MP4 Pela Web: Comodidade E Qualidade Do Movavi Converter
- How to Convert YouTube to MP4 Safely?
- How to Make a YouTube Thumbnail On Mac
- In 2024, For People Wanting to Mock GPS on Samsung Galaxy A14 4G Devices | Dr.fone
- Solved: Resolving Failed Web Renderer Initialization Errors (Latest Updates 2021)
- Theme Crafting for Gaming Channels A Visual Journey
- Unveiling Hash Tags that Multiply Your View Count by Six
- Title: DIY Photography Support Systems
- Author: Brian
- Created at : 2024-11-30 23:31:07
- Updated at : 2024-12-03 08:36:34
- Link: https://youtube-video-recordings.techidaily.com/diy-photography-support-systems/
- License: This work is licensed under CC BY-NC-SA 4.0.