
:max_bytes(150000):strip_icc()/SmartLuggage_MaurizioPesce-5a49851522fa3a003693996c.jpg)
"10 Top-Rated Digital Video Cutting Tools for 2024"
10 Top-Rated Digital Video Cutting Tools
Free Online Video Editors for YouTube

Richard Bennett
Mar 27, 2024• Proven solutions
Most of you might be addicted to YouTube videos because those uploads are outstanding with content that contains information, entertainment stuff and many more. But some of you might be also thinking to get a solution for editing some of your favourite YouTube videos in order to create some customized results. There are so many options available online as well as with downloadable versions. Below are some of the basic details about top seven highly rated online YouTube video editors:
If you need more advanced features like PIP, Green Screen, or audio mixing, check this easy to use and powerful video editor-Wondershare Filmora , and ignite your video by clicks.
 Download Mac Version ](https://tools.techidaily.com/wondershare/filmora/download/ )
8 Free YouTube Video Editor Online
Here is a comparison table. You will learn more information about 4K and price. Each of them has noticable features, so have a look.
| Price | Share to YouTube | Support 4K | Include templates | |
|---|---|---|---|---|
| video editor | Free | N | Y | Y |
| Wevideo | Free | Y | Y | Y |
| Loopster | Free | Y | N | N |
| Kizoa | Free | Y | Y | Y |
| Tubechop | Free | N | N | Y |
| Magisto | Free | Y | N | Y |
| Wideo | Free | Y | N | Y |
| Renderforest | Free | Y | N | Y |
| Powtoon | Free | Y | N | Y |
| YouTube Studio | Free | Y | Y | N |
2. Wevideo
This software tool makes online editing task much easier and fun oriented where you can easily make connections with other cloud services for exporting data. Users can access its paid as well as free version where later comes with watermarked editing feature. The editing experience with Wevideo is really outstanding and simple where interactive tools can be used for drag and drop, trimming and transitioning of files.
Pros:
Collaborative software feature where it is possible to call friends for uploading any footage to project created by you.
Cons:
Free version comes with a limitation of watermarked video type.
3.Loopster
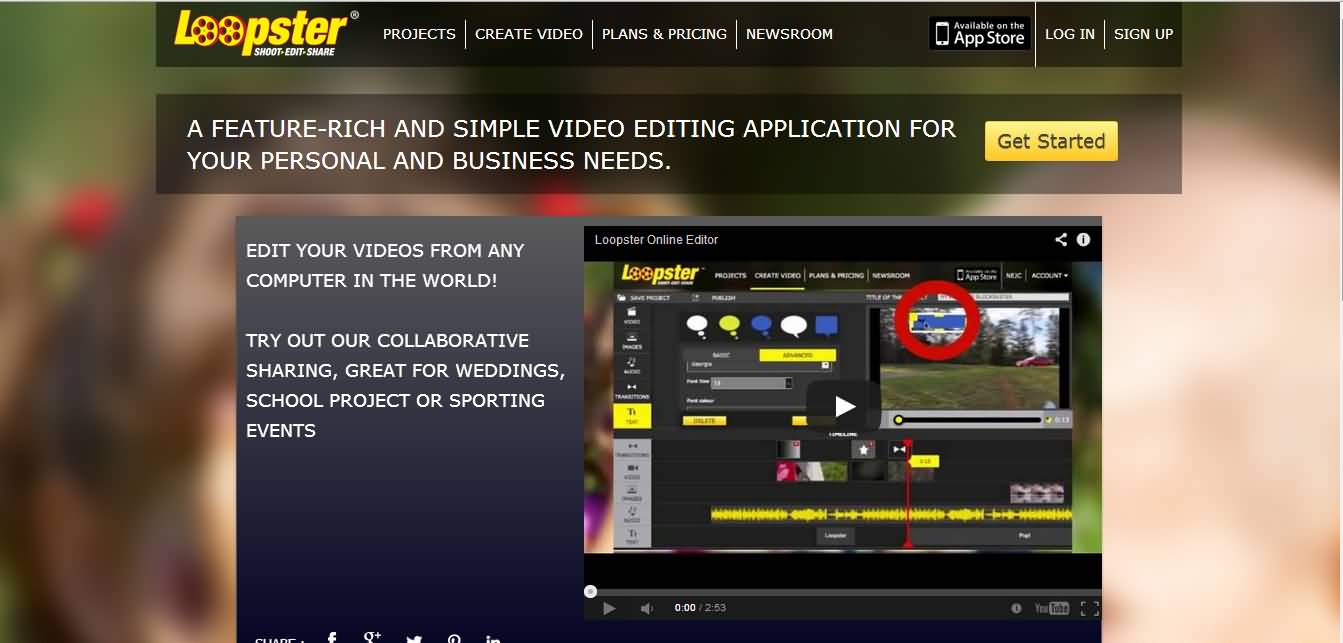
Loopster is one of the best options for educators, film makers, professionals as well as beginners due to its interactive interface. You can avail its free version along with other affordable packages as per need. The special features include splicing of features, adjustment of video angles, sound effect creations and addition of music from external sources.
Pros:
Easy to use interface with fast access to photo and video transfers; allows fast uploading to YouTube account along with other simple functions.
Cons:
Comes with very basic functions and transition feature is not that interactive; is not useful for animation needs.
4.Kizoa

Kizoa is a popular cloud based video editor that comes with user friendly interface where users can edit, share and store photos as per requirement as its storage capacity goes up to 1GB even with free account. It comes with cloud base and web base where you can also upload music from your personal computer.
Pros:
It comes with numerous templates and effects.
Cons:
Free account allows users to work only on a 10 second clip; and resolution is not much appreciable.
5.Tubechop
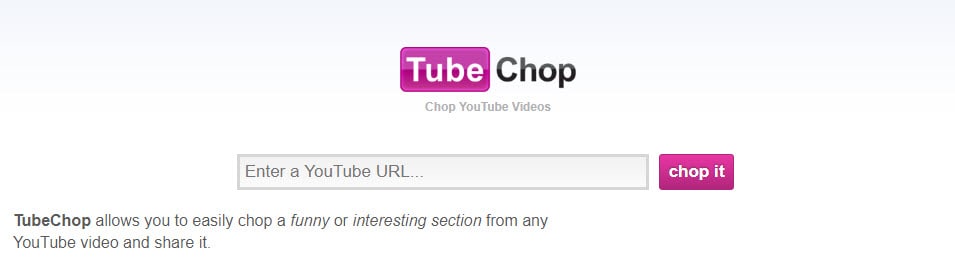
It is actually a website that allows easy chopping of YouTube videos; users need to copy and paste the URL of videos and select the desired part of video for chopping. This tool provides lots of options to for sharing chopped videos to other platforms.
Pros:
Trimming and sharing of videos is much easier as easy to use interface makes everything much easier.
Cons:
Not suitable for those who want to add background music to their video files.
6.Magisto
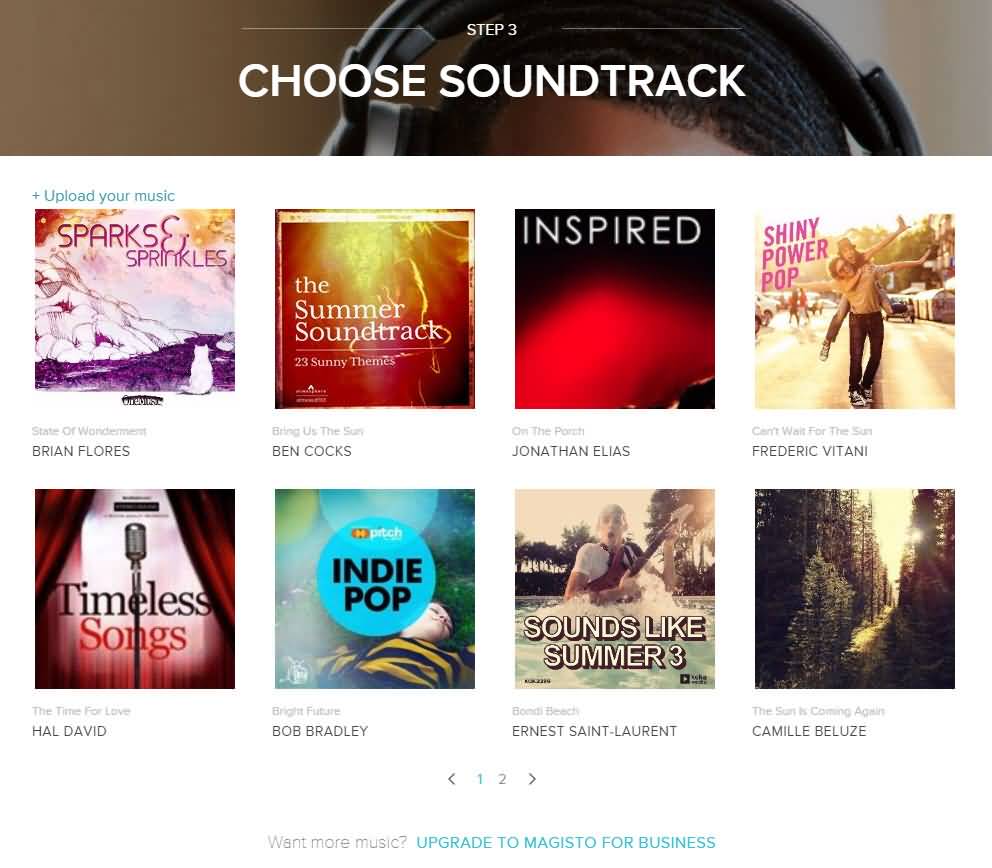
Magisto is a great app that is really popular for automatically turning what would otherwise be an everyday type video into a beautiful poignant movie. . Magisto allows users to derive a funny video from any random footage and the results are worth watching.
Pros:
This online video editing tool is well designed, engaging and offers highly automated video production feature.
Cons:
Less control over edits, restricted length of productions and pricey subscriptions.
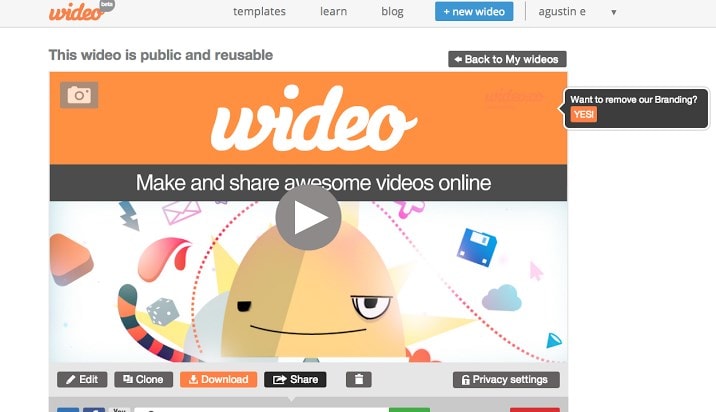
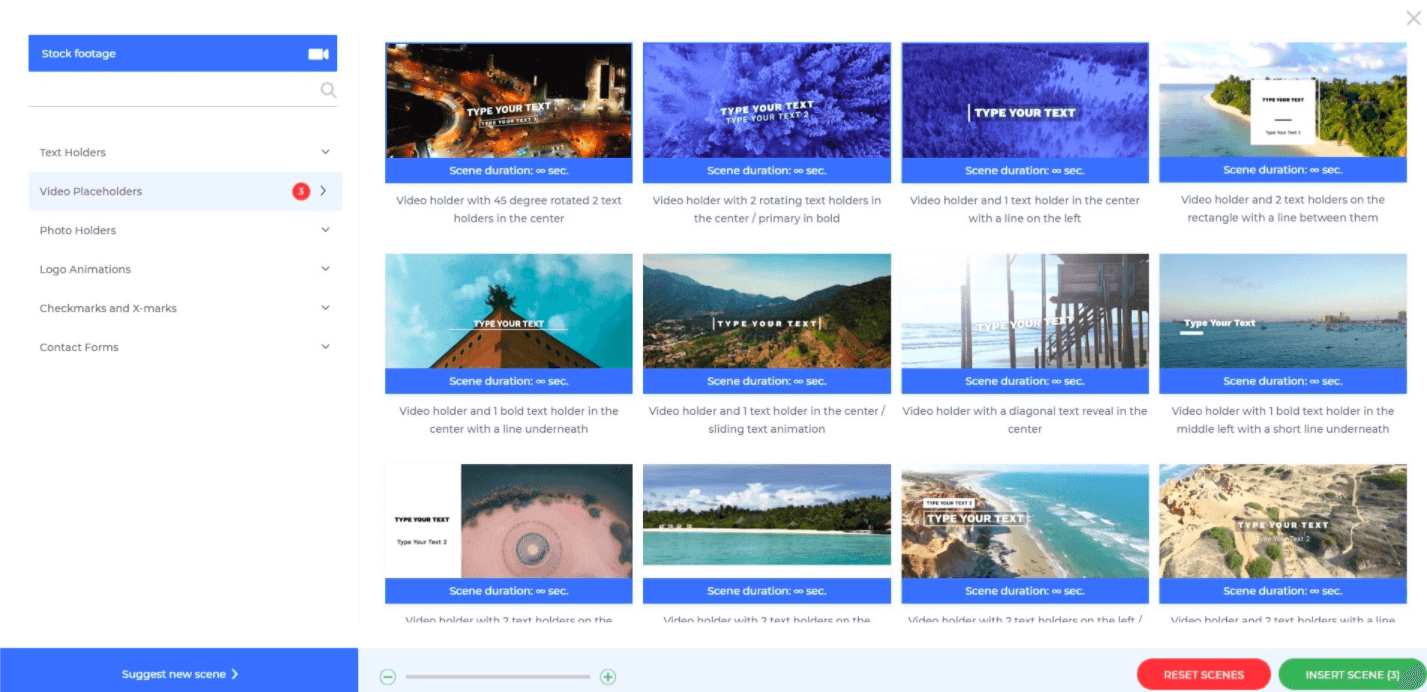
7.Wideo
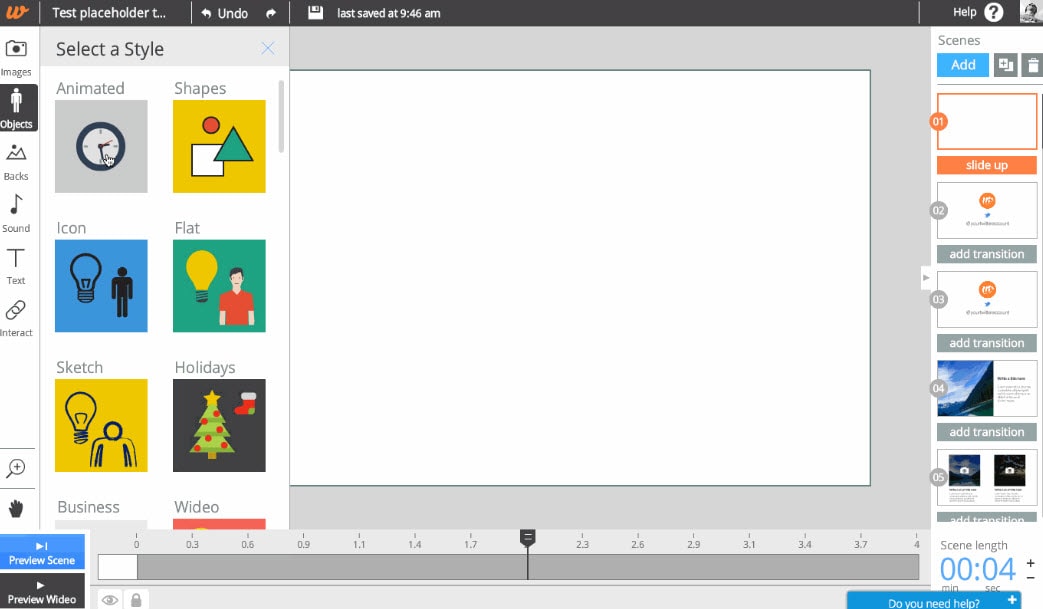
It is one of the latest web based application tool that allows easy to use interface for creation of presentations and animations. This software window contains lots of stylish templates, objects, editing tools, and other interactive elements.
Pros:
Comes with free unbranded player and video hosting service, outstanding customer support, special discounts are added for educators and students.
Cons:
Possess limited editing tools for audios; users need faster internet connection for proper connectivity.
8.Renderforest
Renderforest is a cloud-based video maker platform. It offers a wide variety of branding and editing tools for YouTubers, including advanced video trimmer and voice-over options, logo animations, intros, and promotional video templates. Creators can share their videos on social media, publish them on Facebook or Youtube directly from the preview page.
Pros:
Intuitive and user-friendly interface, easy editing tools, and more than 800+ video templates available for free. The subscription plans come with other tools, including a website builder, logo maker, and mockup editor.
Cons:
With the free plan, users can create an unlimited number of 3-minute videos in 360p with watermarks.
9.Powtoon

Powtoon is an amazing online application that you don’t need to download on your system as it provides all facilities on your premium account. This tool contains so many tools for animation creation and acts like a professional studio for all users. Premium users can easily download their finished videos with high resolution here.
Pros:
Powtoon possesses numerous editing tools and supports many file types; this platform is more famous for animations and professional video editing needs.
Cons:
It is little difficult to use this software for beginners and demands very high speed internet connection.
10.YouTube Studio (Beta)
YouTube video editor was one of the most widely used free online video editing tool over the internet until 20th September, 2017, because after that time, users will no longer be able to use the complimentary editing suite. Check the best YouTube video editor alternatives from this complete guide.

However, the new YouTube Studio now allows you to trim, split video uploaded YouTube videos and add blur effects to faces or objects. Though this easy to use free online video editor doesn’t feature tools like combine several video clips, photos into one longer video, nor add Pan and Zoom effects like the previous version, you can still add audio tracks from its Audio Library to Video. Yeah, this is a video maker online with music and effects. So, it is in our best free online video editor list. Remember, if you’re looking for a free online video editor for YouTube for these simple editing features, then you can try the Editor under YouTube Studio.
Richard Bennett
Richard Bennett is a writer and a lover of all things video.
Follow @Richard Bennett
Richard Bennett
Mar 27, 2024• Proven solutions
Most of you might be addicted to YouTube videos because those uploads are outstanding with content that contains information, entertainment stuff and many more. But some of you might be also thinking to get a solution for editing some of your favourite YouTube videos in order to create some customized results. There are so many options available online as well as with downloadable versions. Below are some of the basic details about top seven highly rated online YouTube video editors:
If you need more advanced features like PIP, Green Screen, or audio mixing, check this easy to use and powerful video editor-Wondershare Filmora , and ignite your video by clicks.
Download Mac Version ](https://tools.techidaily.com/wondershare/filmora/download/ )
8 Free YouTube Video Editor Online
Here is a comparison table. You will learn more information about 4K and price. Each of them has noticable features, so have a look.
| Price | Share to YouTube | Support 4K | Include templates | |
|---|---|---|---|---|
| video editor | Free | N | Y | Y |
| Wevideo | Free | Y | Y | Y |
| Loopster | Free | Y | N | N |
| Kizoa | Free | Y | Y | Y |
| Tubechop | Free | N | N | Y |
| Magisto | Free | Y | N | Y |
| Wideo | Free | Y | N | Y |
| Renderforest | Free | Y | N | Y |
| Powtoon | Free | Y | N | Y |
| YouTube Studio | Free | Y | Y | N |
2. Wevideo
This software tool makes online editing task much easier and fun oriented where you can easily make connections with other cloud services for exporting data. Users can access its paid as well as free version where later comes with watermarked editing feature. The editing experience with Wevideo is really outstanding and simple where interactive tools can be used for drag and drop, trimming and transitioning of files.
Pros:
Collaborative software feature where it is possible to call friends for uploading any footage to project created by you.
Cons:
Free version comes with a limitation of watermarked video type.
3.Loopster
Loopster is one of the best options for educators, film makers, professionals as well as beginners due to its interactive interface. You can avail its free version along with other affordable packages as per need. The special features include splicing of features, adjustment of video angles, sound effect creations and addition of music from external sources.
Pros:
Easy to use interface with fast access to photo and video transfers; allows fast uploading to YouTube account along with other simple functions.
Cons:
Comes with very basic functions and transition feature is not that interactive; is not useful for animation needs.
4.Kizoa
Kizoa is a popular cloud based video editor that comes with user friendly interface where users can edit, share and store photos as per requirement as its storage capacity goes up to 1GB even with free account. It comes with cloud base and web base where you can also upload music from your personal computer.
Pros:
It comes with numerous templates and effects.
Cons:
Free account allows users to work only on a 10 second clip; and resolution is not much appreciable.
5.Tubechop
It is actually a website that allows easy chopping of YouTube videos; users need to copy and paste the URL of videos and select the desired part of video for chopping. This tool provides lots of options to for sharing chopped videos to other platforms.
Pros:
Trimming and sharing of videos is much easier as easy to use interface makes everything much easier.
Cons:
Not suitable for those who want to add background music to their video files.
6.Magisto
Magisto is a great app that is really popular for automatically turning what would otherwise be an everyday type video into a beautiful poignant movie. . Magisto allows users to derive a funny video from any random footage and the results are worth watching.
Pros:
This online video editing tool is well designed, engaging and offers highly automated video production feature.
Cons:
Less control over edits, restricted length of productions and pricey subscriptions.
7.Wideo
It is one of the latest web based application tool that allows easy to use interface for creation of presentations and animations. This software window contains lots of stylish templates, objects, editing tools, and other interactive elements.
Pros:
Comes with free unbranded player and video hosting service, outstanding customer support, special discounts are added for educators and students.
Cons:
Possess limited editing tools for audios; users need faster internet connection for proper connectivity.
8.Renderforest
Renderforest is a cloud-based video maker platform. It offers a wide variety of branding and editing tools for YouTubers, including advanced video trimmer and voice-over options, logo animations, intros, and promotional video templates. Creators can share their videos on social media, publish them on Facebook or Youtube directly from the preview page.
Pros:
Intuitive and user-friendly interface, easy editing tools, and more than 800+ video templates available for free. The subscription plans come with other tools, including a website builder, logo maker, and mockup editor.
Cons:
With the free plan, users can create an unlimited number of 3-minute videos in 360p with watermarks.
9.Powtoon
Powtoon is an amazing online application that you don’t need to download on your system as it provides all facilities on your premium account. This tool contains so many tools for animation creation and acts like a professional studio for all users. Premium users can easily download their finished videos with high resolution here.
Pros:
Powtoon possesses numerous editing tools and supports many file types; this platform is more famous for animations and professional video editing needs.
Cons:
It is little difficult to use this software for beginners and demands very high speed internet connection.
10.YouTube Studio (Beta)
YouTube video editor was one of the most widely used free online video editing tool over the internet until 20th September, 2017, because after that time, users will no longer be able to use the complimentary editing suite. Check the best YouTube video editor alternatives from this complete guide.
However, the new YouTube Studio now allows you to trim, split video uploaded YouTube videos and add blur effects to faces or objects. Though this easy to use free online video editor doesn’t feature tools like combine several video clips, photos into one longer video, nor add Pan and Zoom effects like the previous version, you can still add audio tracks from its Audio Library to Video. Yeah, this is a video maker online with music and effects. So, it is in our best free online video editor list. Remember, if you’re looking for a free online video editor for YouTube for these simple editing features, then you can try the Editor under YouTube Studio.
Richard Bennett
Richard Bennett is a writer and a lover of all things video.
Follow @Richard Bennett
Syncopate Sound and Picture: YouTube’s Audio Editing Techniques
How to Add Music to YouTubeVideo with YouTube Video Editor
Richard Bennett
Mar 27, 2024• Proven solutions
Adding the right music to your YouTube can significantly increase its entertainment value. Professional video maker will not play a music background while shooting the video; they do it during the editing process. You can remove the background noisy during editing and add your own music sound during editing, but you can also upload the video to YouTube first and then choose the right music for your video in YouTube. In this article, we are going to show you how to add or change music to your YouTube videos in YouTube platform after uploading and how to add music to YouTube Video with royalty free music in Audio Library.
You may also like: How to edit YouTube videos >>
Before we get started, there is a better way on how to add music to YouTube Video. You may use Wondershare Filmora to better manage your video. It allows you to import any track you want in different format including but not limited to MP3, WAV, FLAC and others. They also have a huge and better collection of royalty-free music. Compared to YouTube Video Editor where you have a pretty limited audio mix manager, the Filmora comes with an audio equalizer. You may also detach the music easily or add multiple tracks on a single video. You can also import the video that you created in different format or upload it directly to YouTube.
Download Mac Version ](https://tools.techidaily.com/wondershare/filmora/download/ )
Part 1: How to Add Music to YouTube Video
We’re going to offer you two ways to add music to YouTube video with YouTube built-in video editing features.
Section 1: Using Video Manager
There are thousands of royalty free songs that you can use in the YouTube video. You can choose from different genres and moods songs with different duration as well. Here is how to add music to YouTube videos in Video Manager tab.
Step 1 Sign in
The first thing you need to do when you want to know how to add music to YouTube Video is to sign into your account on YouTube. Go to the official site of YouTube and click the sign-in option found at the upper right corner of your screen. You will then be asked to enter your Gmail account and your password. After you managed to sign in, you should be able to see your profile picture on the upper right corner of the page. Click your picture, and you will be able to see the Creator Studio Option. Click that button.

Step 2 Choosing the Video
Start Browsing Your Video Channel. You may do this by clicking on the Video Tab on your Profile Page or Clicking the Video Manager option located at the left bar. You will then be redirected to the videos that you uploaded. Choose your video that you want to have background music.

Step 3 Choosing the Music
Click the Edit option that is located next to the video that you want to edit. This will open the online video editing tool of YouTube. Located on top of the page are the different commands that you can execute to edit the video; you may enhance, add audio, put annotation, create cards, add subtitle and add copyright. Click the Audio Option. It will lead you to a library of music that you may add to your video.

Step 4 Finding the Right Music
The next thing to do on how to add music to YouTube Video is to find an appropriate music for your video. You also need to make sure that the length of the track will perfectly match the length of your video. To do this, Click on the drop down menu that says ‘Top Tracks’ and you will see the different genre of music. In case you already have music in your mind, simply type the title of the song on the search bar and hit enter.

Additional Tip: Not satisfied with the track? Try the sound effects by going at YouTube Audio Library . You can create an advance search by customizing the result based on popularity, duration, instrument, mood and genre.
Step 5 Adding the Selected Music
Before you decided to add the music to your video, make sure that it fits the duration of your video. In case you want to know how to add music to YouTube Video, you should do nothing more than to click the ADD TO VIDEO button and it will be automatically integrated into your video.
Step 6 Editing the Music
- After you successfully integrate the music to the video, you will see the title of the music under your video. You also have additional tools that you can use. Let us take a look at the Position audio and the slide bar option a little closer.

- Once You Click the Position Audio Button, you will be able to customize and position your integrated music as well as compress the length of the music. To trim the music, simply put your pointer either at the end or the beginning of the music. When you want to move the audio, you may just drag the music.
- The ‘Only Music’ option located at the left side of the Position Audio can be used to adjust the volume of the music. In case you want to remove the original sound from the video, drag the pointer at the right most.
Step 7 Saving the Changes
When you save the edited video, you can save it as a separate video, or you can overwrite the existing video.
Additional Reminder: You can’t add multiple audio tracks in one video with youtube video editor, if you want to get an advanced audio editing, check this article How to mix audio tracks into one file for video
Section 2: Using Audio Library
Since YouTube has shut down the Video Editor module in 2017, you can now add music in YouTube Video Editor Module. Though there are plentiful video editing software for YouTube videos , you can also download Free Music and Sound Effects in YouTube Audio Library first and then add it to your video clips. Here is how to add music to YouTube video with YouTube Audio Library.
Step 1 Click on Audio Library
This time instead of clicking the Video Manager option, you will have to click on the Create option and choose Audio Library.

Step 2 Download target free music or sound effect
In YouTube Audio Library, you will find some free music sounds and sound effects available. You can search music in the library and filter genre, duration, mood, attribution and instrument properties. Click the download icon to download this royalty free music and sound effect to your computer. And then you can combine the audio and video and make it as a video with music sound. You can download multiple audio files and then add multiple songs to the YouTube video.

Step 3 Add Music to Video and Edit the music track
There are numerous video editors that you can add the downloaded music from YouTube Audio Library to the video. You can check our guide abouthow to edit YouTube videos in Windows Movie Maker orhow to add music to video in iMovie . While, as we described before, Filmora video editor is one of the best video editor for YouTubers. And here is how to add music to YouTube videos with Filmora . You can edit the treble, bass, pan and volume. However, it is impossible for you to position the music in a desired spot. If you want to get more control on your audio tracks, please read this article to know how to add audio effects to your video
Importing the video and audio
Importing media files to Filmora is easy. After launching Filmora, import all the files to the media library first and then drag and drop the target video and audio to the timeline. One of the best things of using Filmora to edit YouTube video is there is a built-in Music Library which including some royalty free music sound and sound effects as well.

Detach the original audio from video [Optional]
If you want to remove the recorded original audio file from video , just right click the video and then select Audio Detach option and the audio will be separated from the video automatically and then delete the audio.
What’s more, you can also use Filmora to remove the background noise and then keep the original audio as well.
Edit the Music

In Filmora, you can change the video and audio speed, add fade in and fade out to the music and change the music sound.
Read More to Get: 10 Best Music Video Makers >>
Watch the video below to check how to empower your imagination with Filmora

Richard Bennett
Richard Bennett is a writer and a lover of all things video.
Follow @Richard Bennett
Richard Bennett
Mar 27, 2024• Proven solutions
Adding the right music to your YouTube can significantly increase its entertainment value. Professional video maker will not play a music background while shooting the video; they do it during the editing process. You can remove the background noisy during editing and add your own music sound during editing, but you can also upload the video to YouTube first and then choose the right music for your video in YouTube. In this article, we are going to show you how to add or change music to your YouTube videos in YouTube platform after uploading and how to add music to YouTube Video with royalty free music in Audio Library.
You may also like: How to edit YouTube videos >>
Before we get started, there is a better way on how to add music to YouTube Video. You may use Wondershare Filmora to better manage your video. It allows you to import any track you want in different format including but not limited to MP3, WAV, FLAC and others. They also have a huge and better collection of royalty-free music. Compared to YouTube Video Editor where you have a pretty limited audio mix manager, the Filmora comes with an audio equalizer. You may also detach the music easily or add multiple tracks on a single video. You can also import the video that you created in different format or upload it directly to YouTube.
Download Mac Version ](https://tools.techidaily.com/wondershare/filmora/download/ )
Part 1: How to Add Music to YouTube Video
We’re going to offer you two ways to add music to YouTube video with YouTube built-in video editing features.
Section 1: Using Video Manager
There are thousands of royalty free songs that you can use in the YouTube video. You can choose from different genres and moods songs with different duration as well. Here is how to add music to YouTube videos in Video Manager tab.
Step 1 Sign in
The first thing you need to do when you want to know how to add music to YouTube Video is to sign into your account on YouTube. Go to the official site of YouTube and click the sign-in option found at the upper right corner of your screen. You will then be asked to enter your Gmail account and your password. After you managed to sign in, you should be able to see your profile picture on the upper right corner of the page. Click your picture, and you will be able to see the Creator Studio Option. Click that button.
Step 2 Choosing the Video
Start Browsing Your Video Channel. You may do this by clicking on the Video Tab on your Profile Page or Clicking the Video Manager option located at the left bar. You will then be redirected to the videos that you uploaded. Choose your video that you want to have background music.
Step 3 Choosing the Music
Click the Edit option that is located next to the video that you want to edit. This will open the online video editing tool of YouTube. Located on top of the page are the different commands that you can execute to edit the video; you may enhance, add audio, put annotation, create cards, add subtitle and add copyright. Click the Audio Option. It will lead you to a library of music that you may add to your video.
Step 4 Finding the Right Music
The next thing to do on how to add music to YouTube Video is to find an appropriate music for your video. You also need to make sure that the length of the track will perfectly match the length of your video. To do this, Click on the drop down menu that says ‘Top Tracks’ and you will see the different genre of music. In case you already have music in your mind, simply type the title of the song on the search bar and hit enter.
Additional Tip: Not satisfied with the track? Try the sound effects by going at YouTube Audio Library . You can create an advance search by customizing the result based on popularity, duration, instrument, mood and genre.
Step 5 Adding the Selected Music
Before you decided to add the music to your video, make sure that it fits the duration of your video. In case you want to know how to add music to YouTube Video, you should do nothing more than to click the ADD TO VIDEO button and it will be automatically integrated into your video.
Step 6 Editing the Music
- After you successfully integrate the music to the video, you will see the title of the music under your video. You also have additional tools that you can use. Let us take a look at the Position audio and the slide bar option a little closer.
- Once You Click the Position Audio Button, you will be able to customize and position your integrated music as well as compress the length of the music. To trim the music, simply put your pointer either at the end or the beginning of the music. When you want to move the audio, you may just drag the music.
- The ‘Only Music’ option located at the left side of the Position Audio can be used to adjust the volume of the music. In case you want to remove the original sound from the video, drag the pointer at the right most.
Step 7 Saving the Changes
When you save the edited video, you can save it as a separate video, or you can overwrite the existing video.
Additional Reminder: You can’t add multiple audio tracks in one video with youtube video editor, if you want to get an advanced audio editing, check this article How to mix audio tracks into one file for video
Section 2: Using Audio Library
Since YouTube has shut down the Video Editor module in 2017, you can now add music in YouTube Video Editor Module. Though there are plentiful video editing software for YouTube videos , you can also download Free Music and Sound Effects in YouTube Audio Library first and then add it to your video clips. Here is how to add music to YouTube video with YouTube Audio Library.
Step 1 Click on Audio Library
This time instead of clicking the Video Manager option, you will have to click on the Create option and choose Audio Library.
Step 2 Download target free music or sound effect
In YouTube Audio Library, you will find some free music sounds and sound effects available. You can search music in the library and filter genre, duration, mood, attribution and instrument properties. Click the download icon to download this royalty free music and sound effect to your computer. And then you can combine the audio and video and make it as a video with music sound. You can download multiple audio files and then add multiple songs to the YouTube video.
Step 3 Add Music to Video and Edit the music track
There are numerous video editors that you can add the downloaded music from YouTube Audio Library to the video. You can check our guide abouthow to edit YouTube videos in Windows Movie Maker orhow to add music to video in iMovie . While, as we described before, Filmora video editor is one of the best video editor for YouTubers. And here is how to add music to YouTube videos with Filmora . You can edit the treble, bass, pan and volume. However, it is impossible for you to position the music in a desired spot. If you want to get more control on your audio tracks, please read this article to know how to add audio effects to your video
Importing the video and audio
Importing media files to Filmora is easy. After launching Filmora, import all the files to the media library first and then drag and drop the target video and audio to the timeline. One of the best things of using Filmora to edit YouTube video is there is a built-in Music Library which including some royalty free music sound and sound effects as well.
Detach the original audio from video [Optional]
If you want to remove the recorded original audio file from video , just right click the video and then select Audio Detach option and the audio will be separated from the video automatically and then delete the audio.
What’s more, you can also use Filmora to remove the background noise and then keep the original audio as well.
Edit the Music
In Filmora, you can change the video and audio speed, add fade in and fade out to the music and change the music sound.
Read More to Get: 10 Best Music Video Makers >>
Watch the video below to check how to empower your imagination with Filmora
Richard Bennett
Richard Bennett is a writer and a lover of all things video.
Follow @Richard Bennett
Also read:
- Unlocking Success The Quintessential YouTube Video Strategies
- Boosting Income A Complete Guide to YouTube Ad Profits
- The Easy Guide to YouTube-to-AVI Conversion Technology
- Digital Dollars Kings & Queens YouTube Edition for 2024
- The Rewind Ritual Making Playlists Run Opposite to Current
- Unraveling Success's Secrets How to Amass More Subscribers on YouTube
- Beginning Your Blog Journey for Financial Gain
- [Updated] Boost Engagement Through Anime-Style Subscribe Buttons (Filmora Tutorial)
- [Updated] Best 3D Entrance Makers for YouTube Creators
- 2024 Approved Audiovisual Authority The Finest Computers for Professional Edits
- Cloaking in Content An Introduction to Video Smoothing
- Free Uploads, More Views YouTube's Easily Overlooked Hacks
- Boost Traffic with These Essential Hashtags for YouTube Gamers
- [New] Ascend in the YouTube Arena Through Creative Studio Mastery
- Break Through Boundaries 15+ Best Free Video Starters for 2024
- Best Online Stock Market Channels Reviewed for 2024
- Visual Voyages Free Thematic Tools for YouTube
- 2024 Approved Building Successful YouTube Collaborations Step by Step
- Finding and Exploring Your Own Music Selection Zone on Youtube
- Best Movie Swaps Top 7 Alternate Films for 2024
- [Updated] Crafting Perfect YouTube Thumbnails on macOS
- Amplify Your Video Reach with These Key SEO Insights (1-11)
- In 2024, Creative Channel Themes Get Them for Free
- Your Browsing Bliss Discover the Most Effective 7 Android AdBlockers
- [Updated] 2024 Approved Embrace Artistic Expression Incorporating Anime Into Snapchat
- Best in Business 4K Cameras Our Leading Choices (18)
- The No-Cost Guide to Harmonizing Audio with Web Video Content for 2024
- [New] No Hassle Sending Tweeted Videos to WhatsApp
- [Updated] The Top 7 List of Mobile Apps to Change How You Speak for 2024
- [Updated] Exclusive Screen Time Delight with These Top Offline Games for 2024
- In 2024, Take Control of Discord Dialogues Advanced Techniques for Pins
- Everything You Need to Know about Lock Screen Settings on your Oppo A78
- In 2024, How to Bypass Google FRP Lock from Oppo Find N3 Devices
- In 2024, Top 5-Seconds Timelapse Shooter
- 2024 Approved The Essential Guide to Win-Compatible TikTok Editing Software
- Boxes That Speak Love The Top 10 Websites Offering Custom Wrapped Treasures
- New Top-Rated Video Combiner Software with No Watermarks for 2024
- Resolve Your iPhone 13 Pro Max Keeps Asking for Outlook Password | Dr.fone
- [New] 2024 Approved Who Are the Biggest Watchers? Top Amazon Series Liked by Twitter, 2023
- Title: "10 Top-Rated Digital Video Cutting Tools for 2024"
- Author: Brian
- Created at : 2024-05-25 10:54:40
- Updated at : 2024-05-26 10:54:40
- Link: https://youtube-video-recordings.techidaily.com/10-top-rated-digital-video-cutting-tools-for-2024/
- License: This work is licensed under CC BY-NC-SA 4.0.
